|
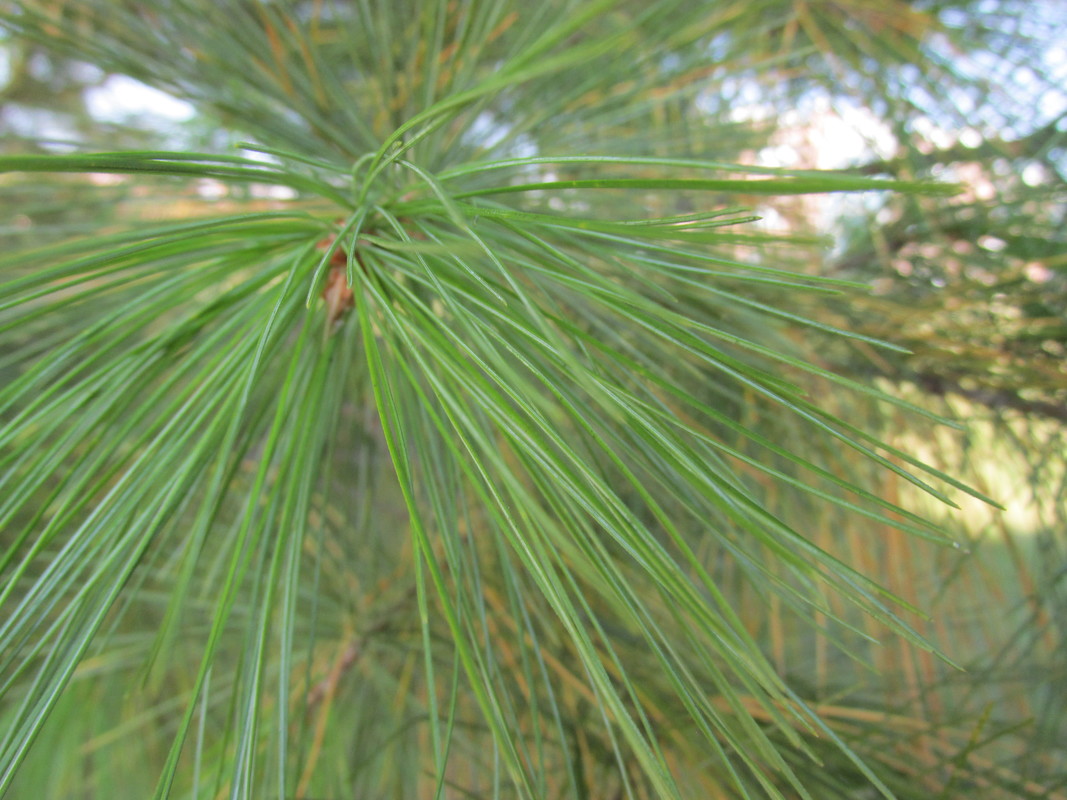
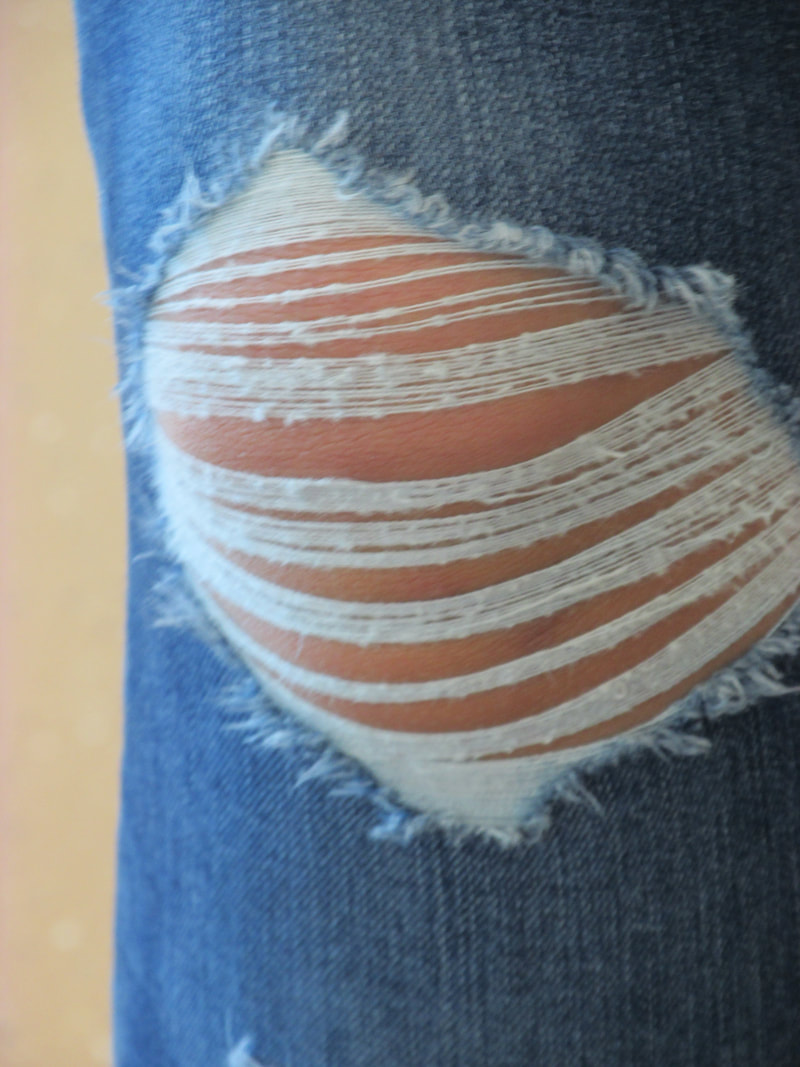
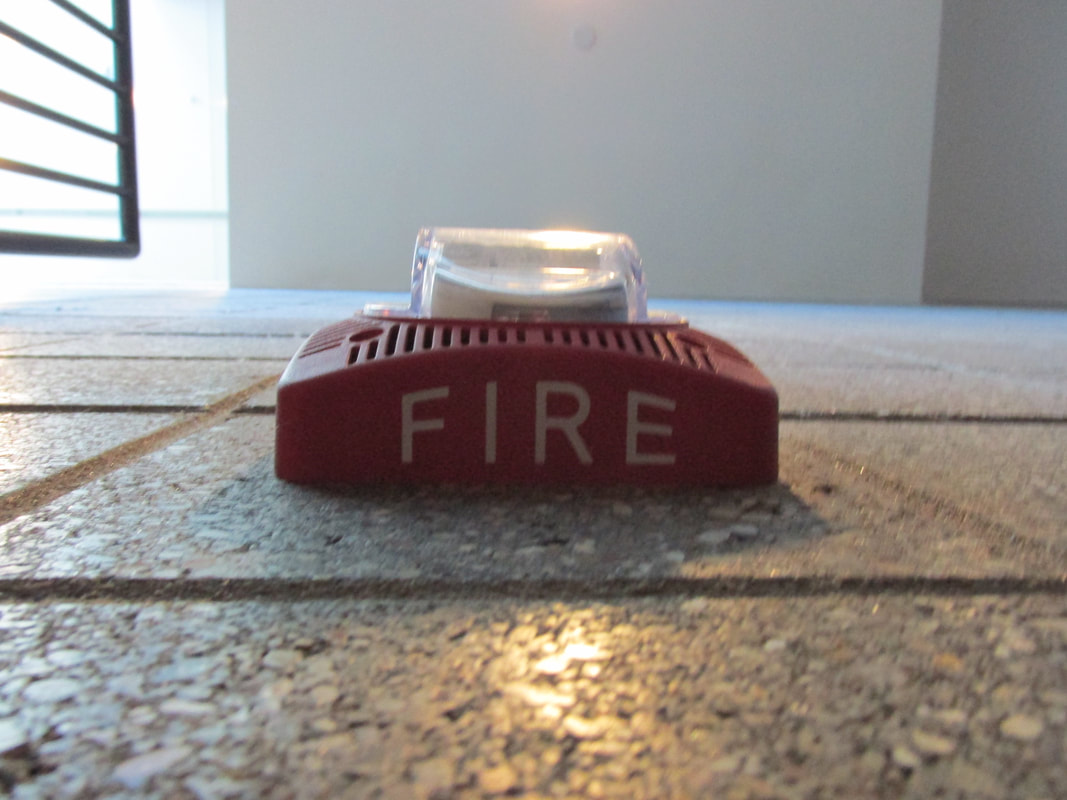
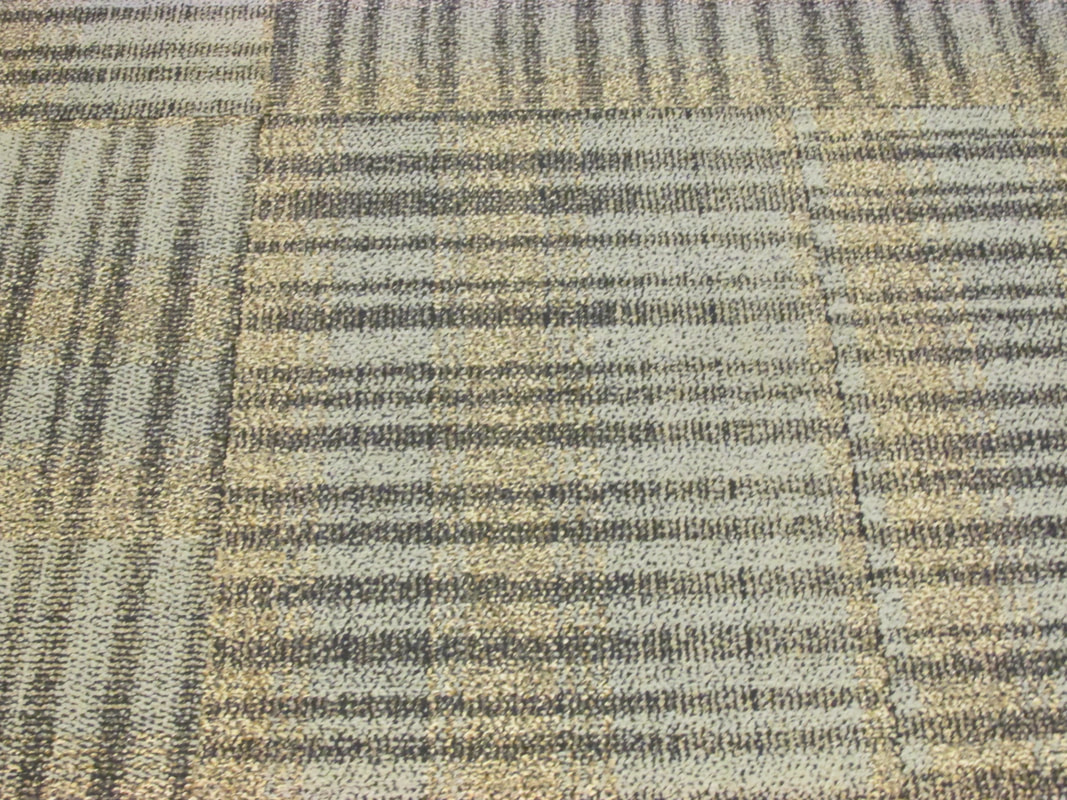
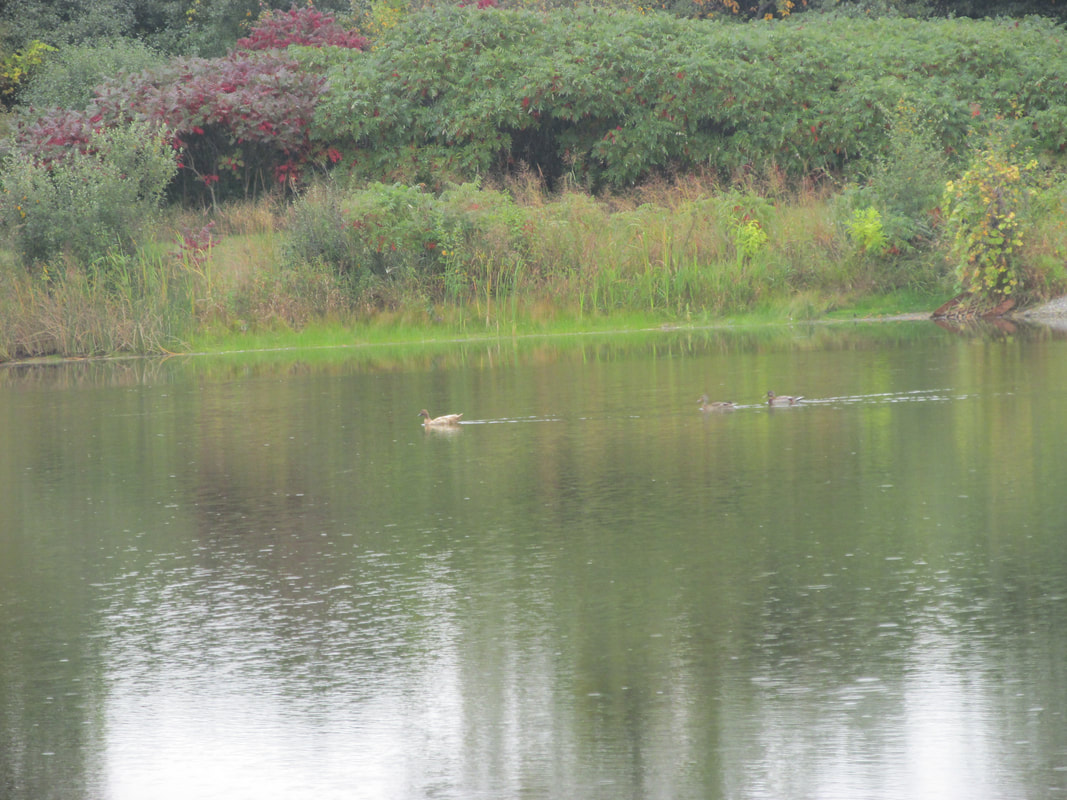
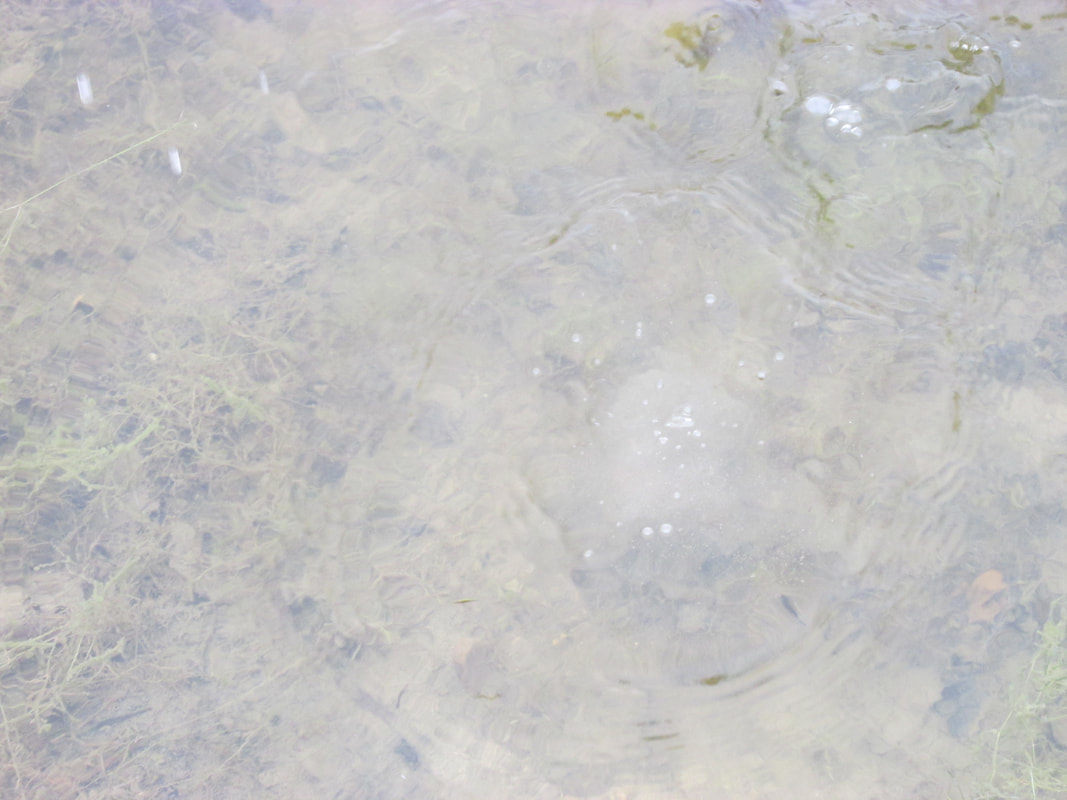
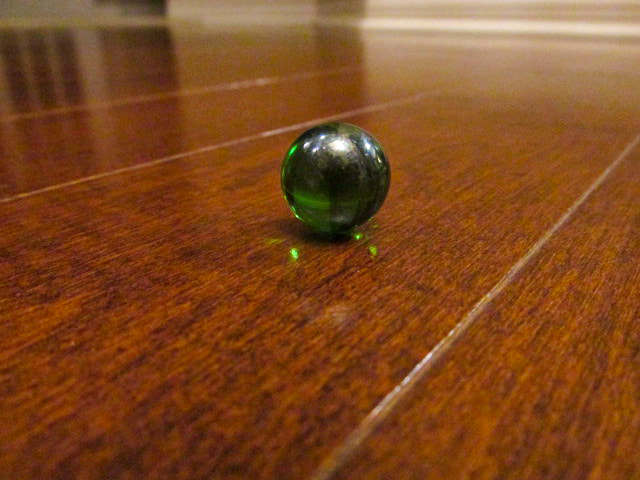
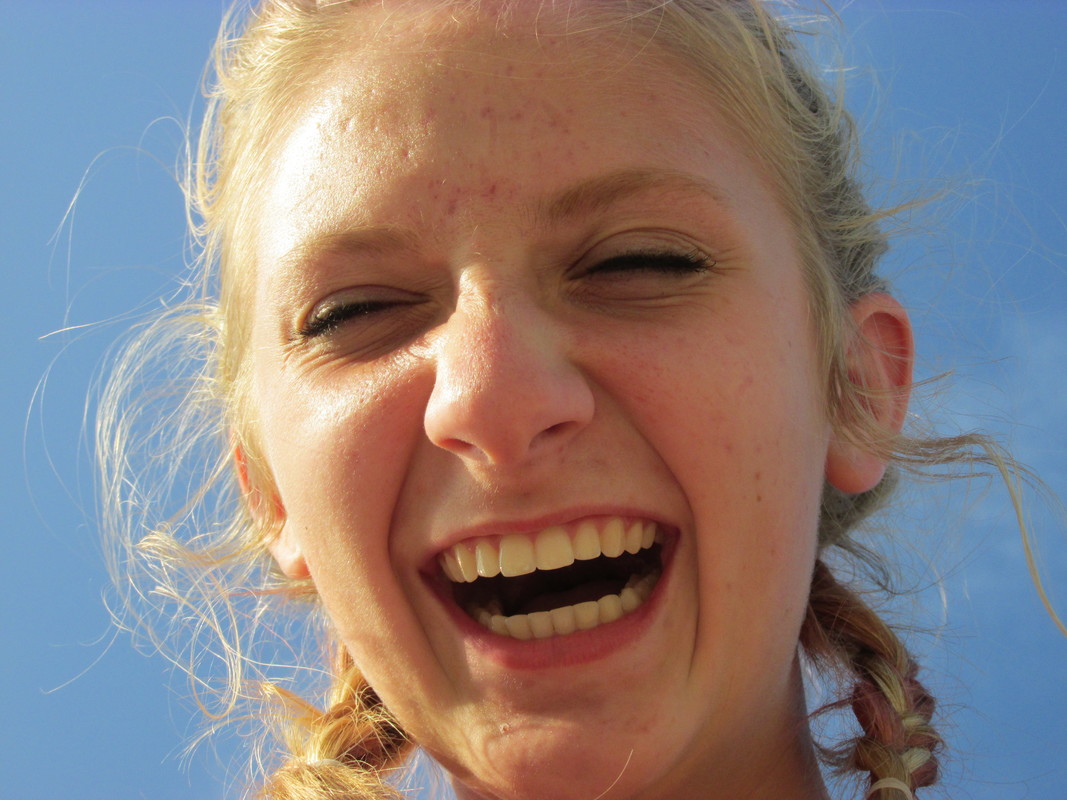
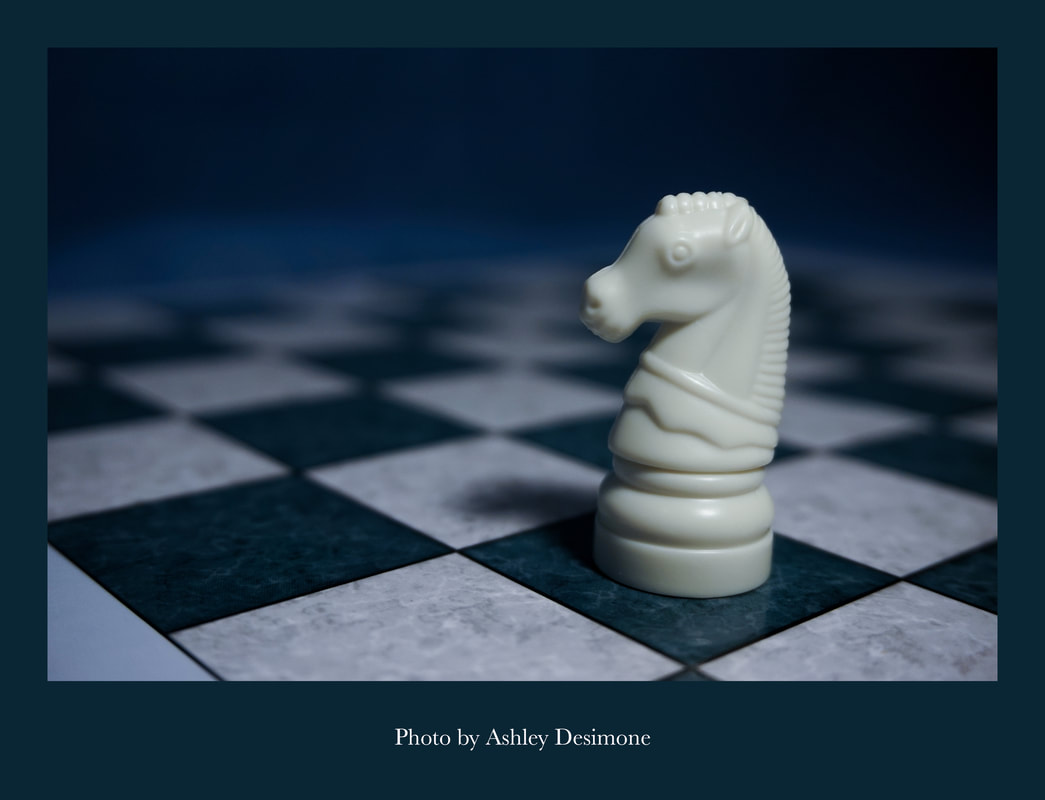
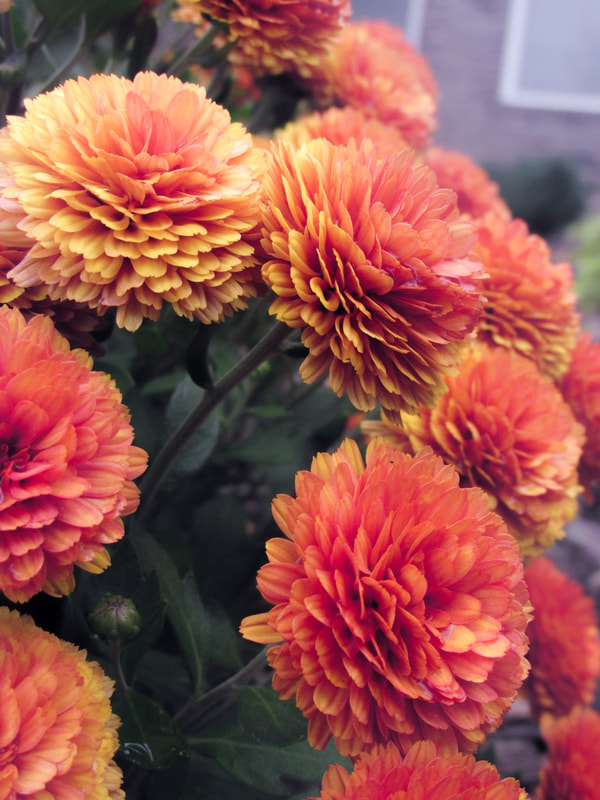
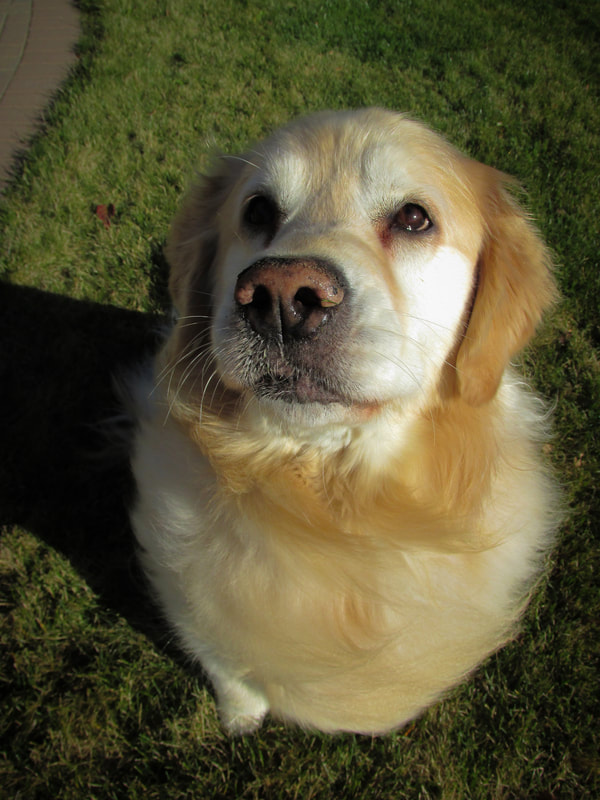
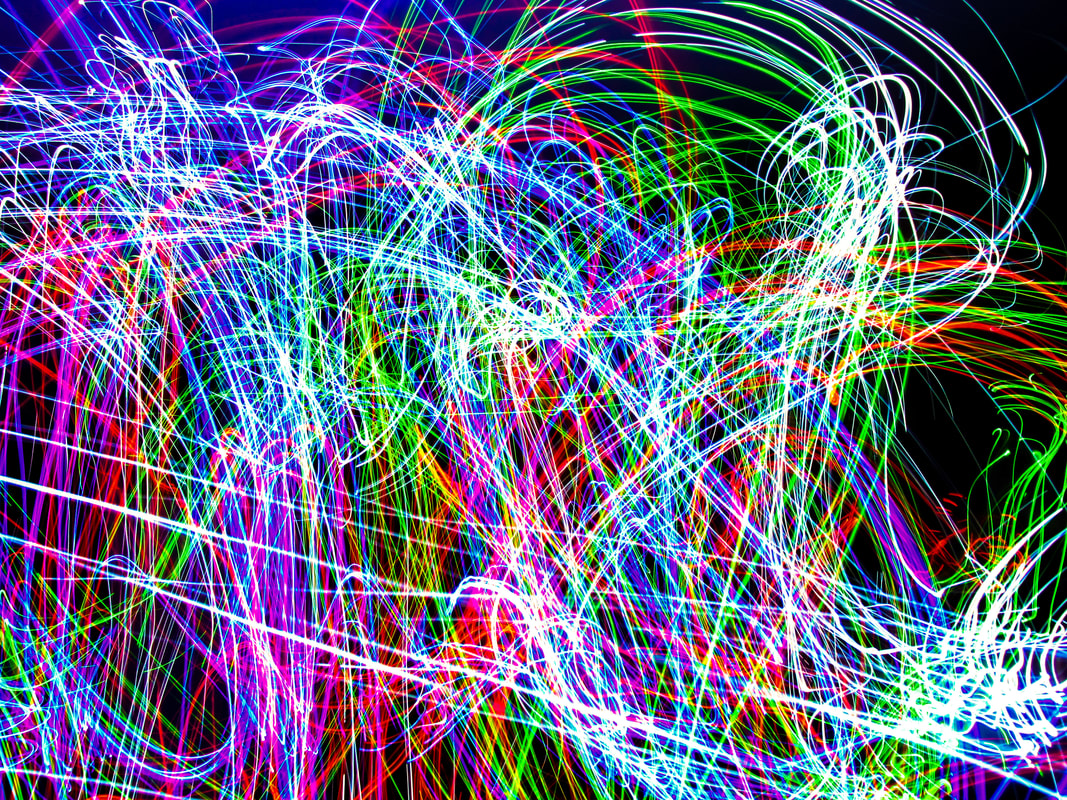
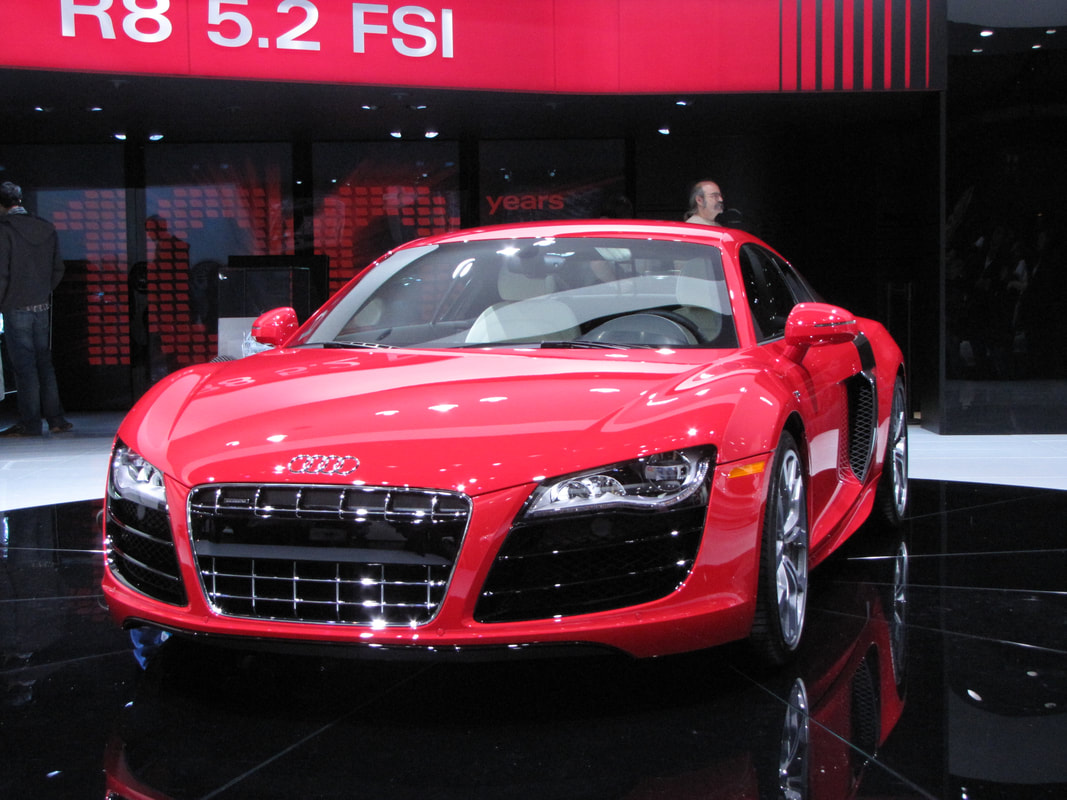
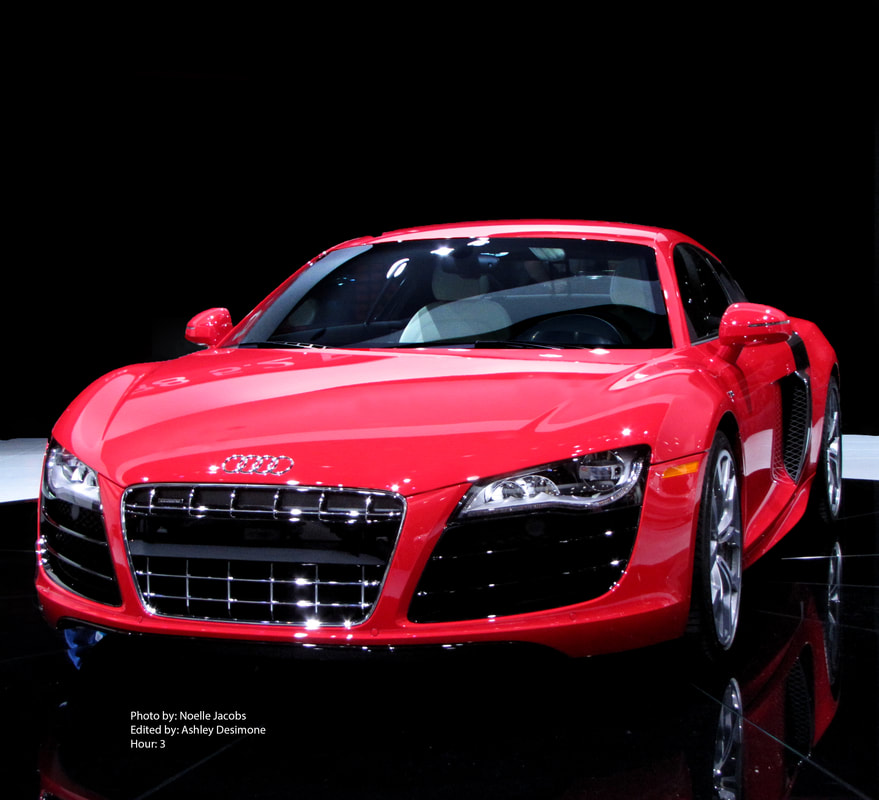
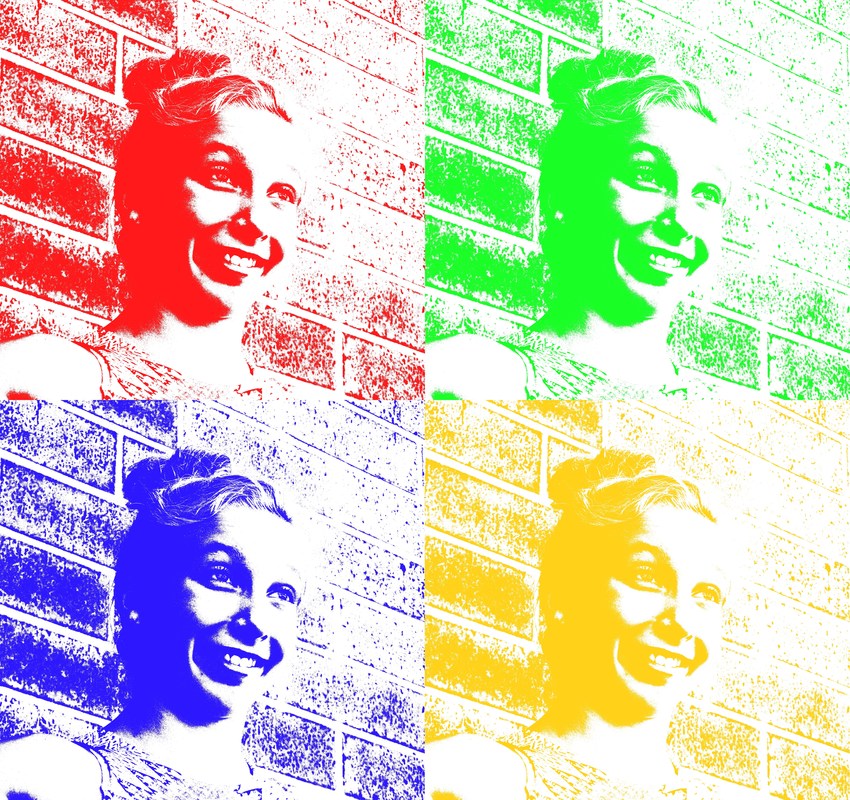
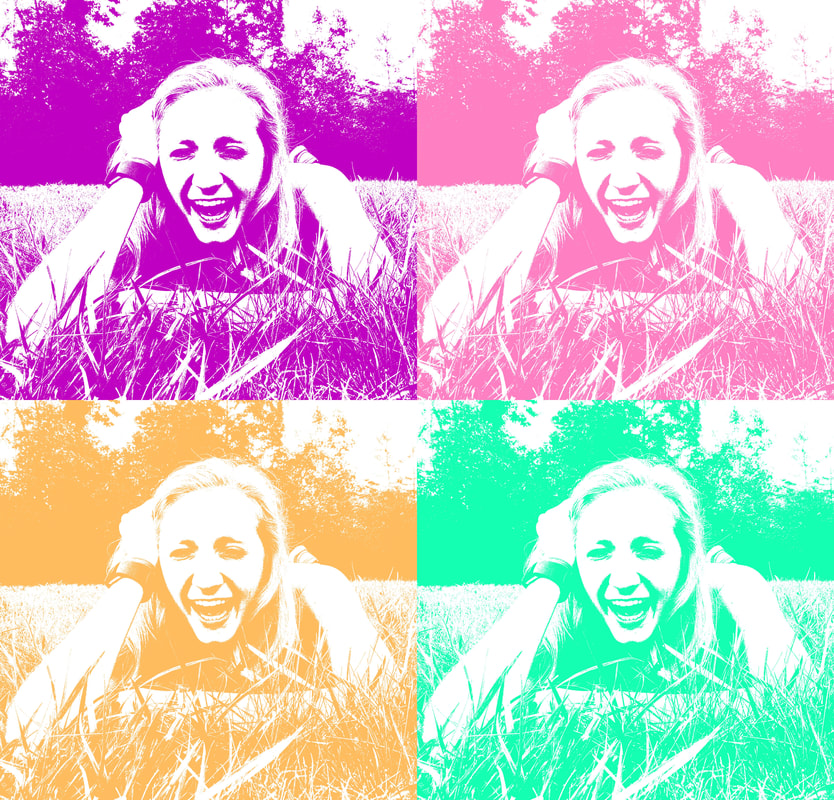
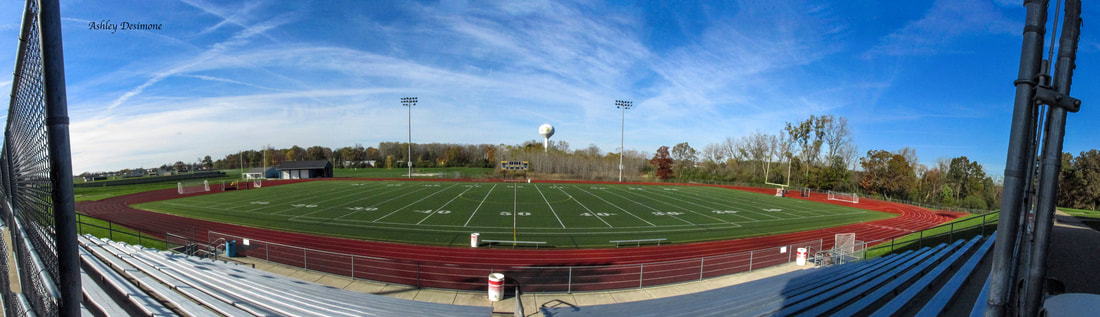
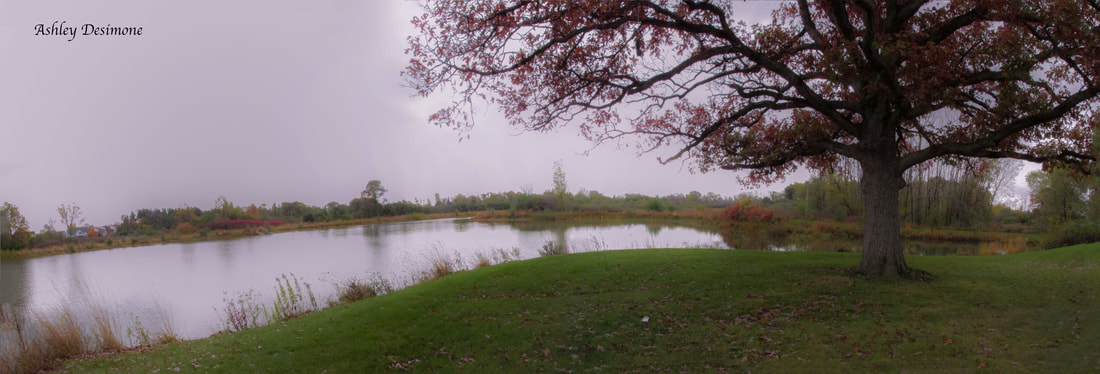
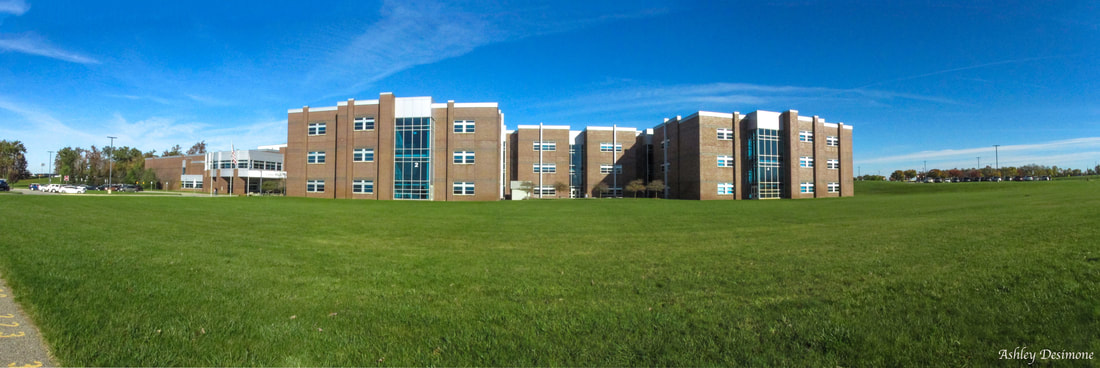
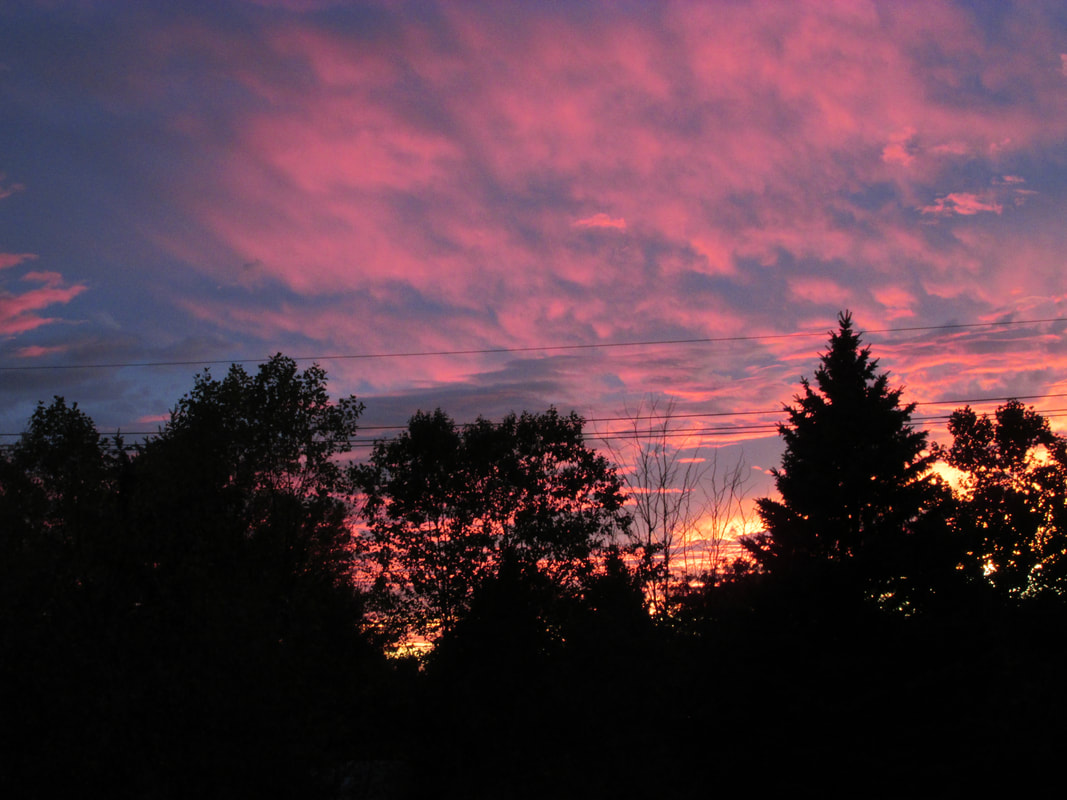
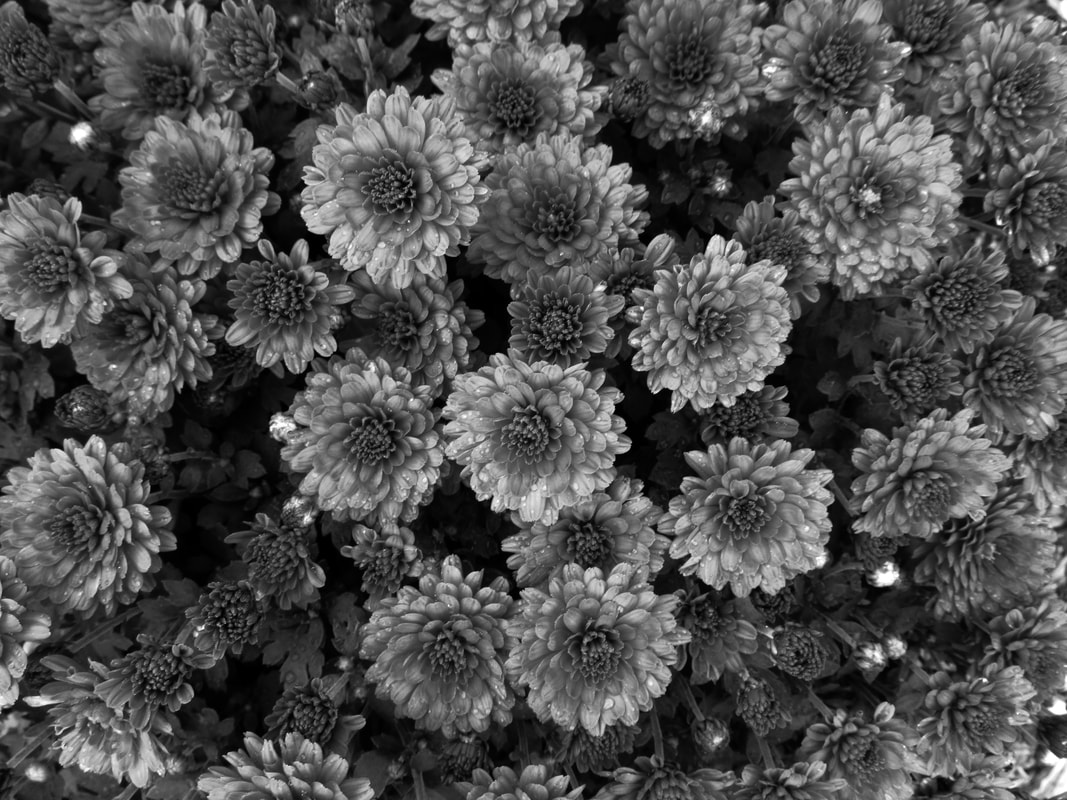
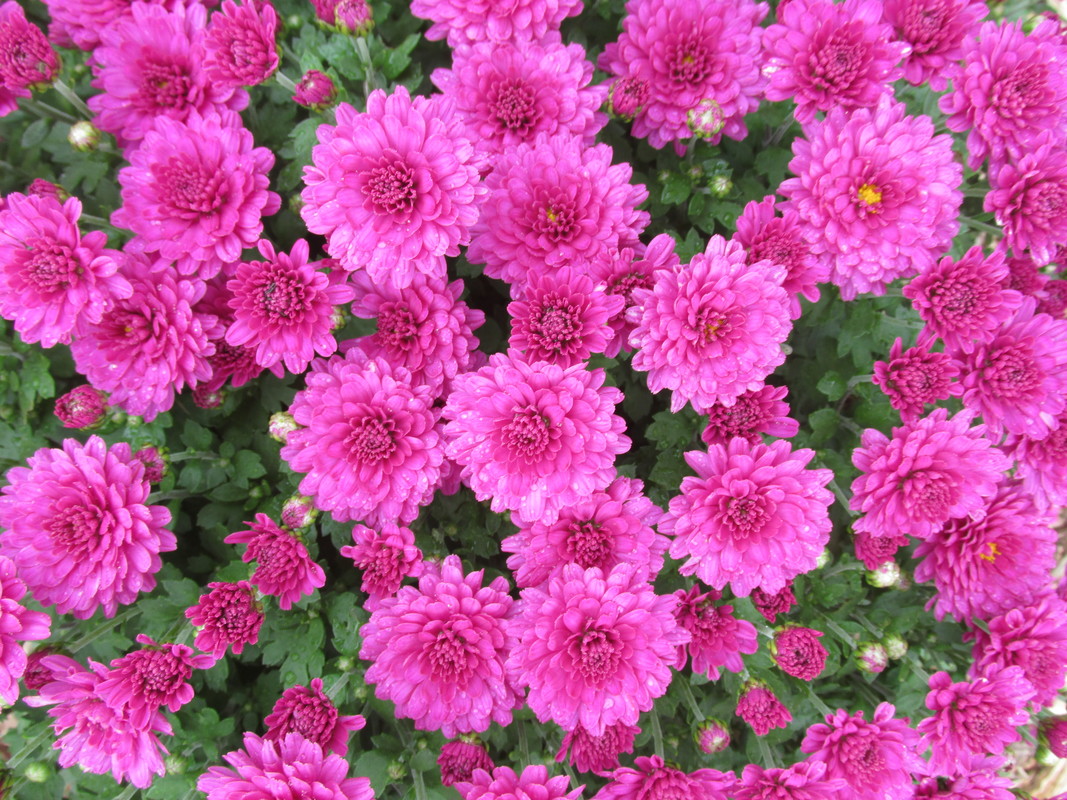
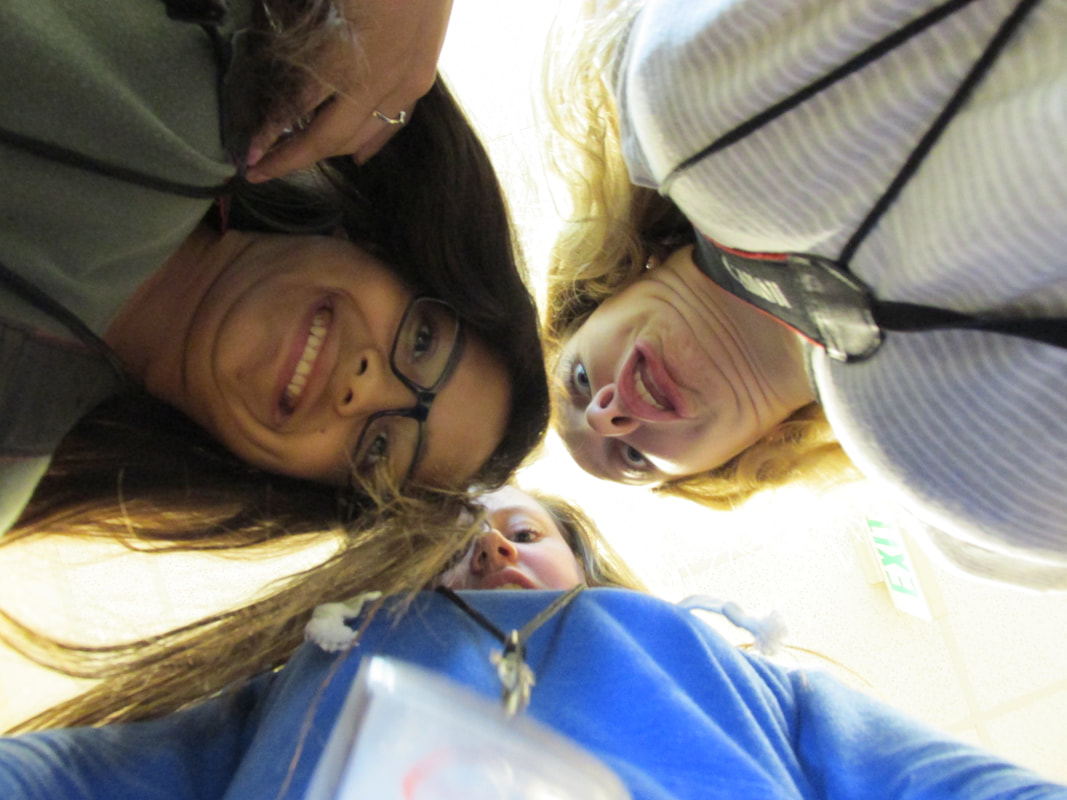
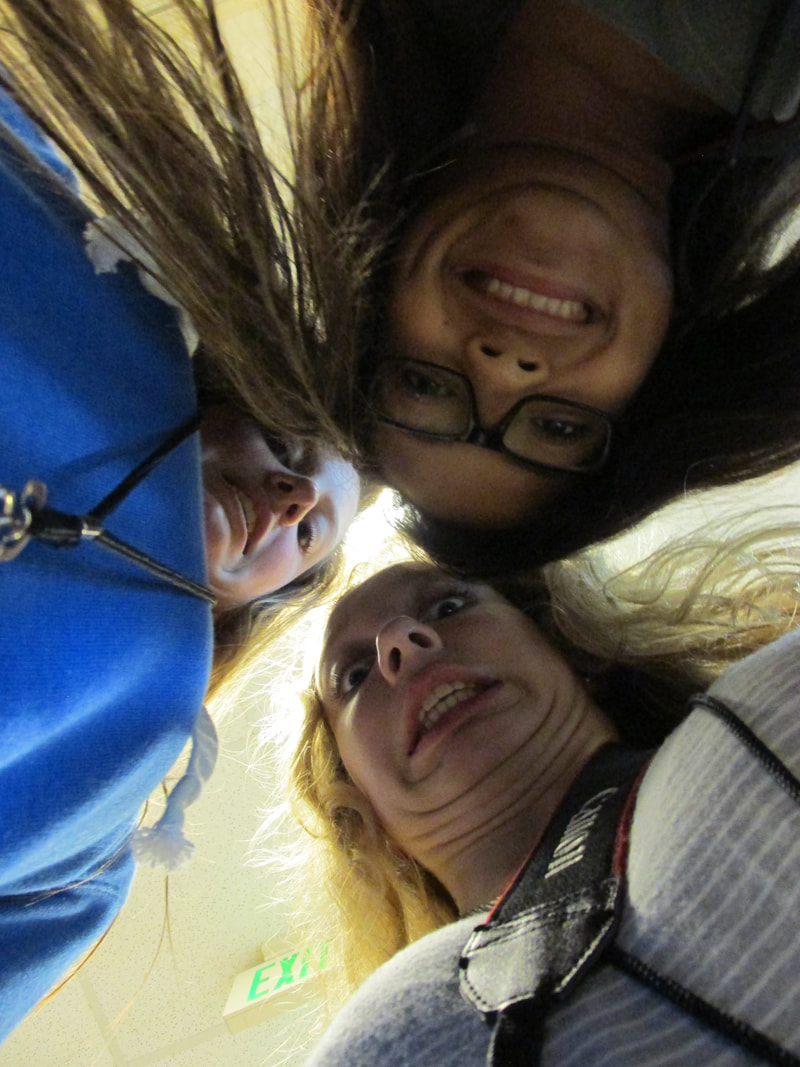
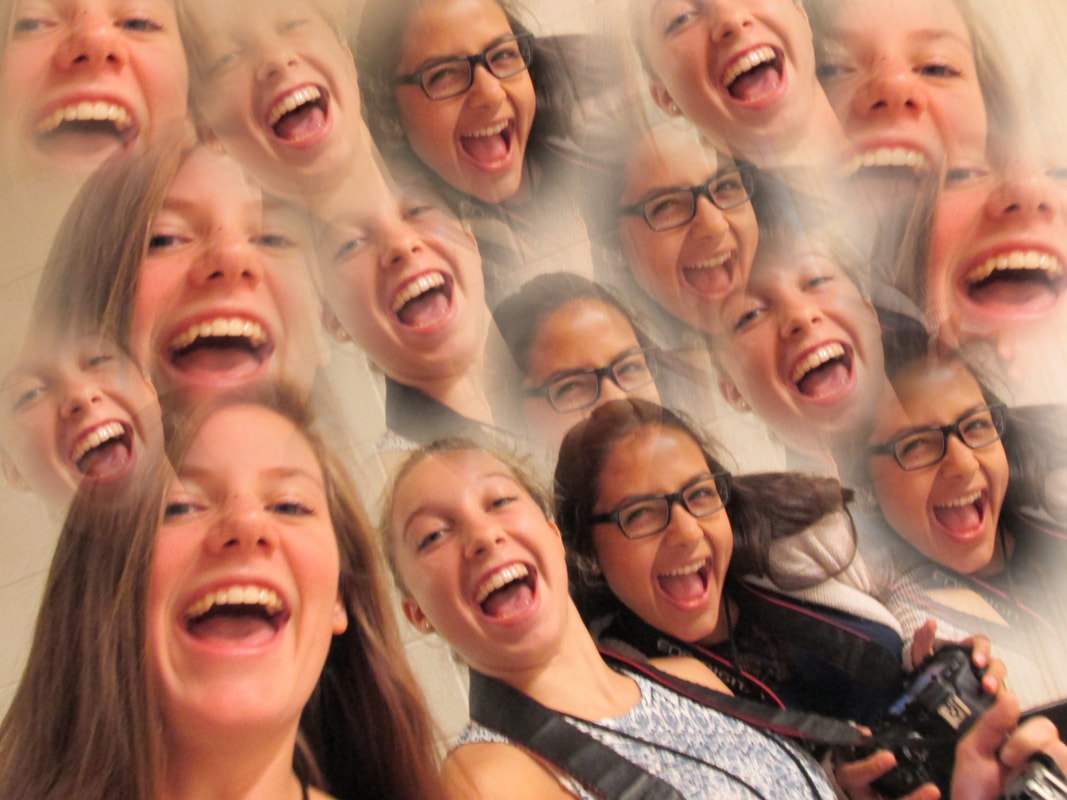
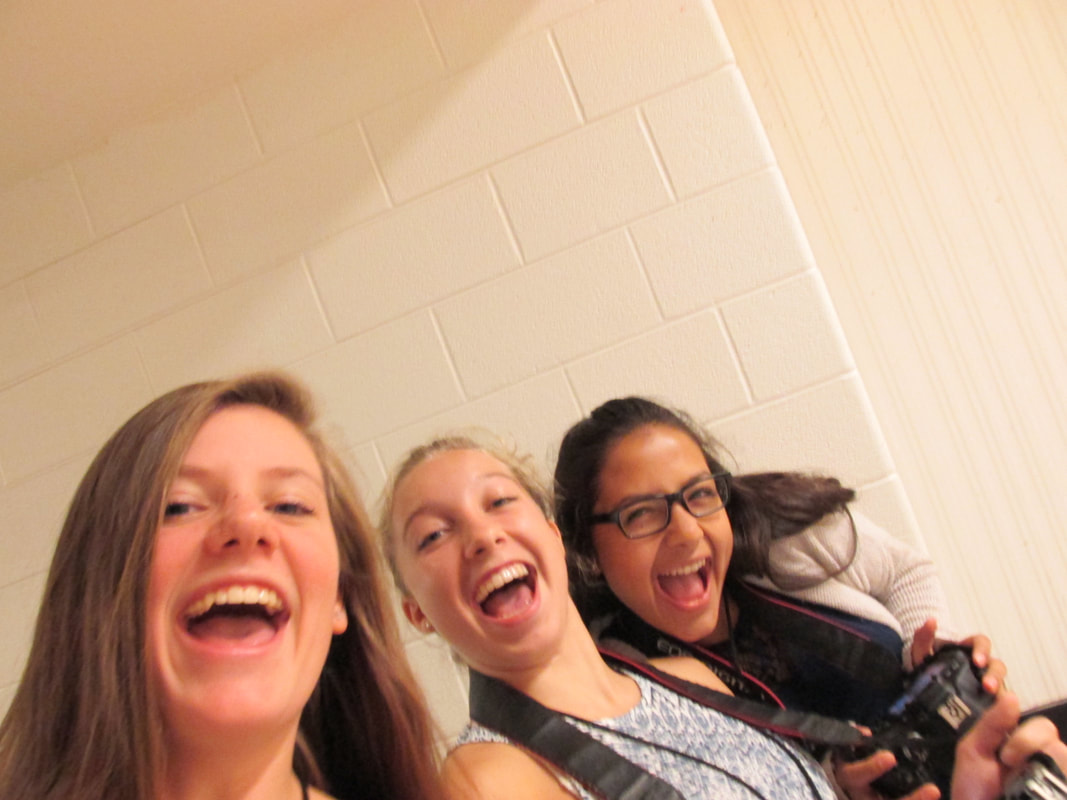
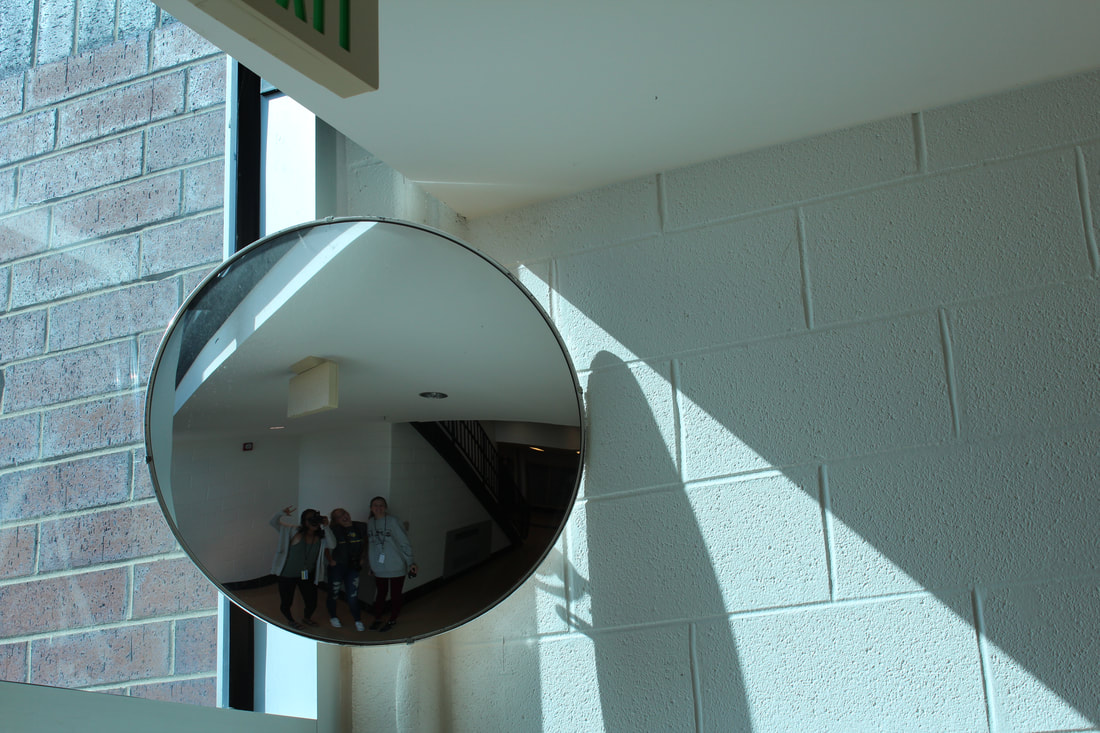
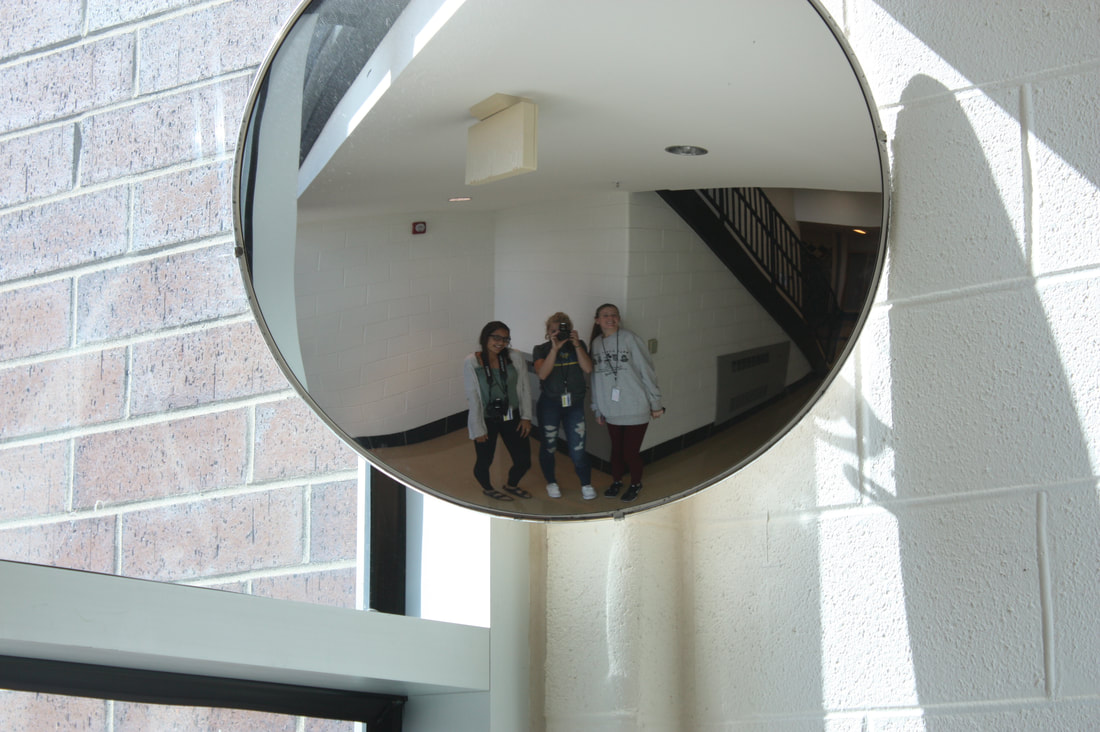
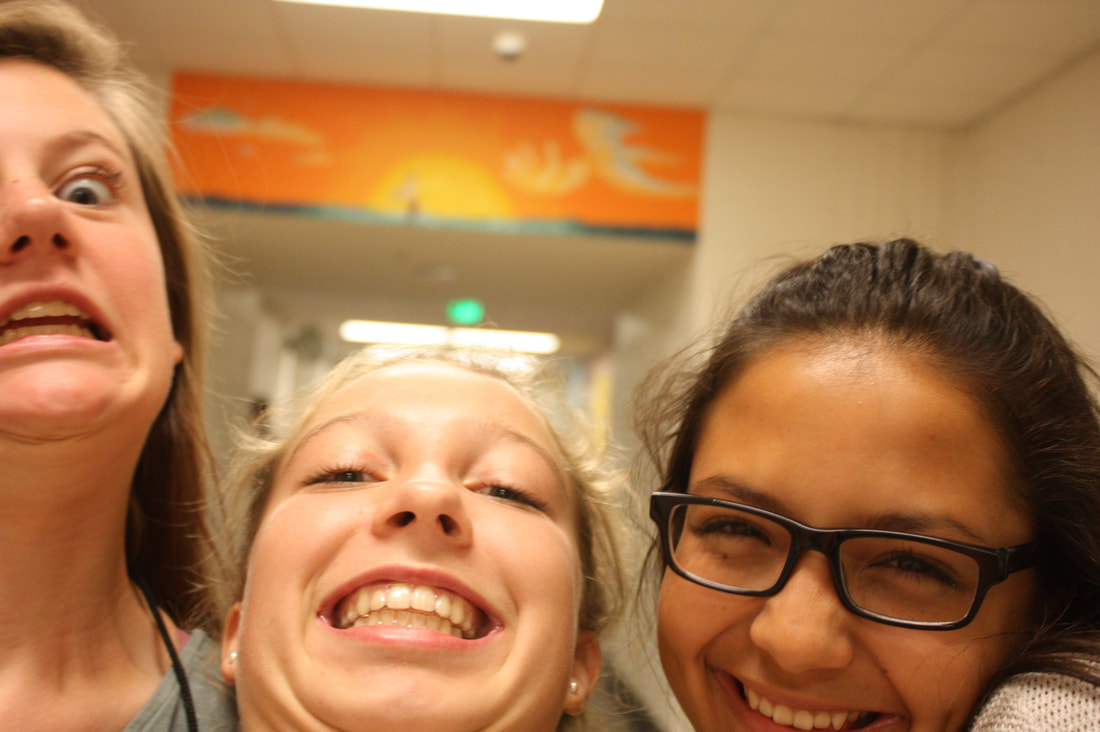
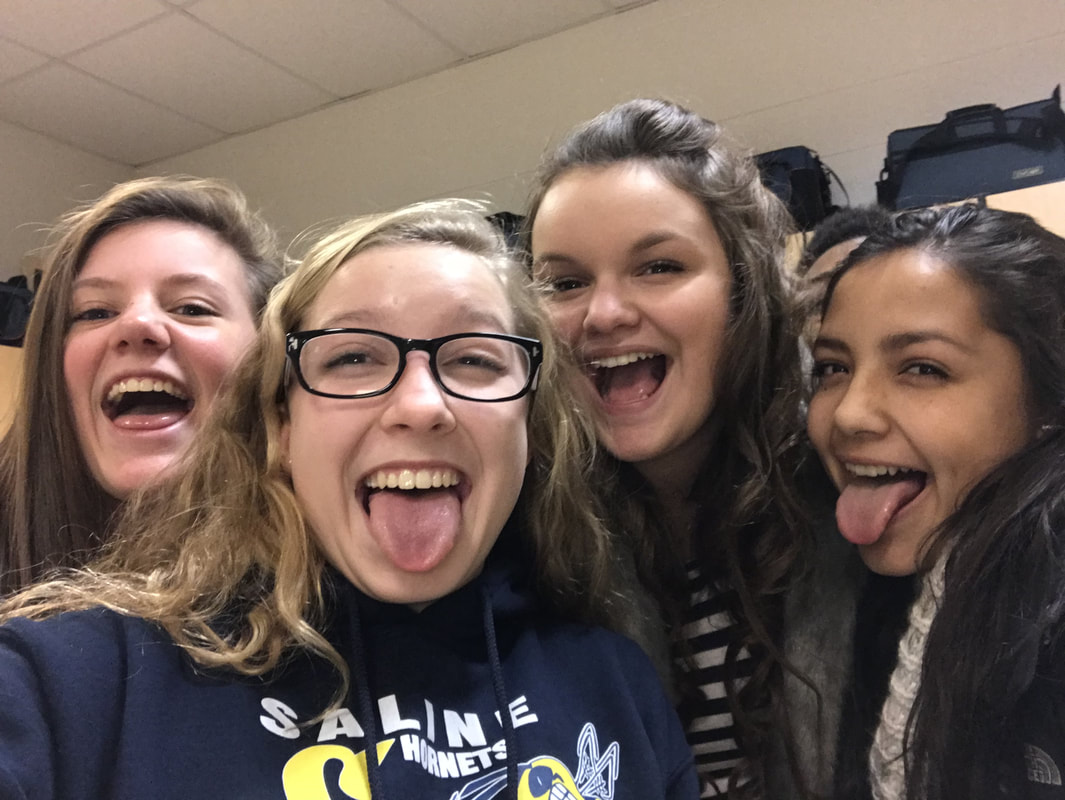
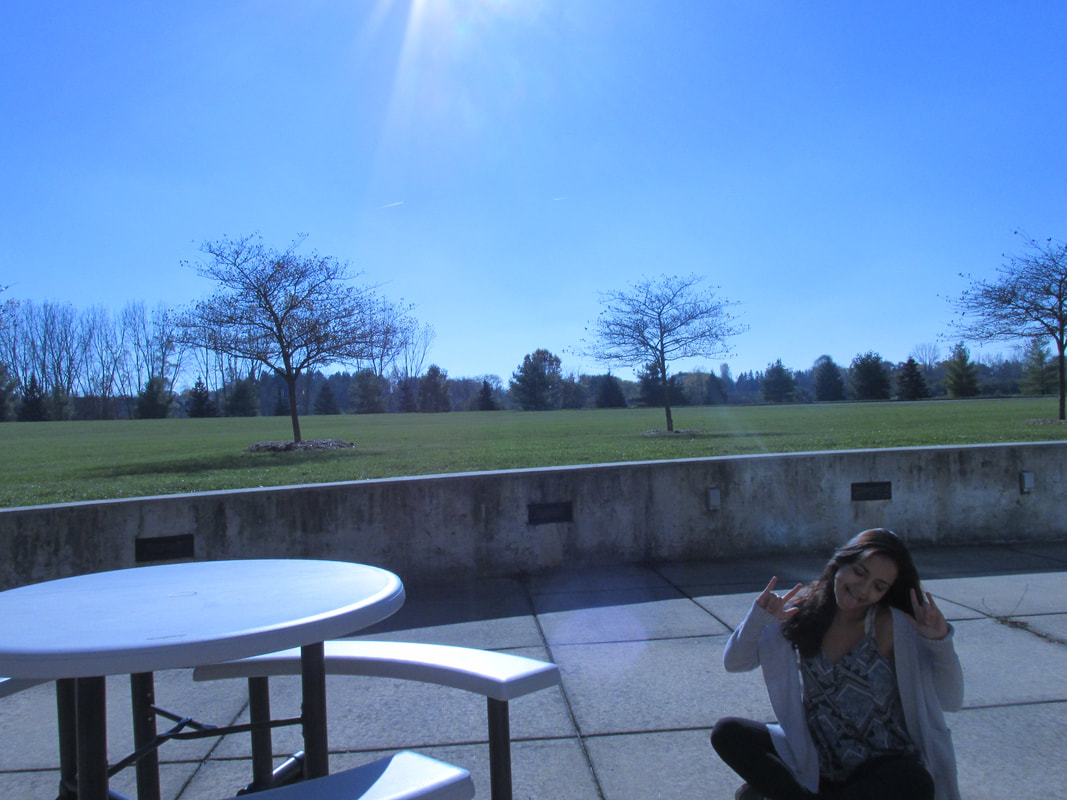
The very first day I walked into this class, I was terrified. I mean, I knew nothing about cameras, much less how to compose pictures. My experience with photography was pretty much limited directly to whatever my phone camera could pull off. I specifically remember when Mr. Bush pulled up a slide called “How To Get An A,” and after looking at those pictures, I was scared out of my mind. I couldn’t take pictures like that. Don’t believe me? Here are some of the pictures I took in the very beginning. Not great, right? Luckily for me, we quickly started learning the basics. The very first assignment was to shoot for composition. Composition is basically the makeup of a photo, and I learned that a few basic adjustments could easily make a photo look so much better. A personal favorite of mine is the rule of thirds, in which the photographer divides the screen into a grid of nine parts and then lining the subject up on them. I used the rule of third for many assignments to guide me. Some other types of composition are texture, color, and perspective. Here are a few examples of these elements of composition. We then started doing assignments by ourselves at home. I liked the idea of choosing what we shot every week, and I feel like this really drew me into photography because I was interested in my subjects. I first took pictures of my best friend, Tori, in which I learned you absolutely CAN NOT cut someone’s chin off. I then took pictures of still life, following that up with nature. The nature shot definitely gave me some of my favorite images from this class. Then I took pictures of animals, which was a struggle because dogs have minds of their own and don’t appreciate sitting still for long periods of time. My fifth shoot was using this really cool technique called light painting, in which the exposure is really long and the area is pitch black except for the lights desired to be in the photograph. I went for more of an abstract product rather than having a subject. My last subject was for an open project; I got up close and personal with people’s eyes. I had the best results with my friend, India’s. To begin with, I didn’t want anything to do with photoshop. There were too many options, and I honestly didn’t think I’d ever learn how to figure this program out. However, with the first photoshop popart assignment, I very quickly fell in love with all of the options and couldn’t wait to explore and find out what I could really do. We did six photoshop assignments: popart, a car retouching, school context, panoramics, portraits, and multiple me. My favorites were the popart because of the fun, light-hearted nature of the assignment and the panoramics because those were just really cool to see come together. I also used photoshop, most notably the Camera Raw Filter, to edit most, if not all, of my photos I shot. It kept the natural look of the photo while really highlighting the features of it that I wanted to accentuate. Here’s a not-no-natural example from pictures of a (kind of) sunset I took, as well as a black and white picture compared to the originals. Looking back on all of these experiences, photography has helped me grow so much. This class was the best part of my day every single day. It was a totally new kind of class to me. I learned how to get better at something I love, and in reality, I really just fell in love with photography. I already really enjoyed it, but this class really deepened. The environment always welcomed me, and my friends always stood beside me to help me get the best picture I could and to laugh with me when they miserably failed. (We also took some really beautiful selfies over the course of the class;) as seen below.) I’ve become much more comfortable on a computer and using a camera, not to mention that this class has given my bossiness and assertiveness an acceptable outlet. Photography isn’t like most classes. You get to keep all your work. It doesn’t fall away after a tri or get pushed out of your head while cramming for the next test. It stays with you as a form of expression (and of course, the tangible pictures are much more enjoyable to keep than old tests). Digital Photography was my beacon of light for this trimester, and it amazes me how far I have come since the very first day I walked into this class.
0 Comments
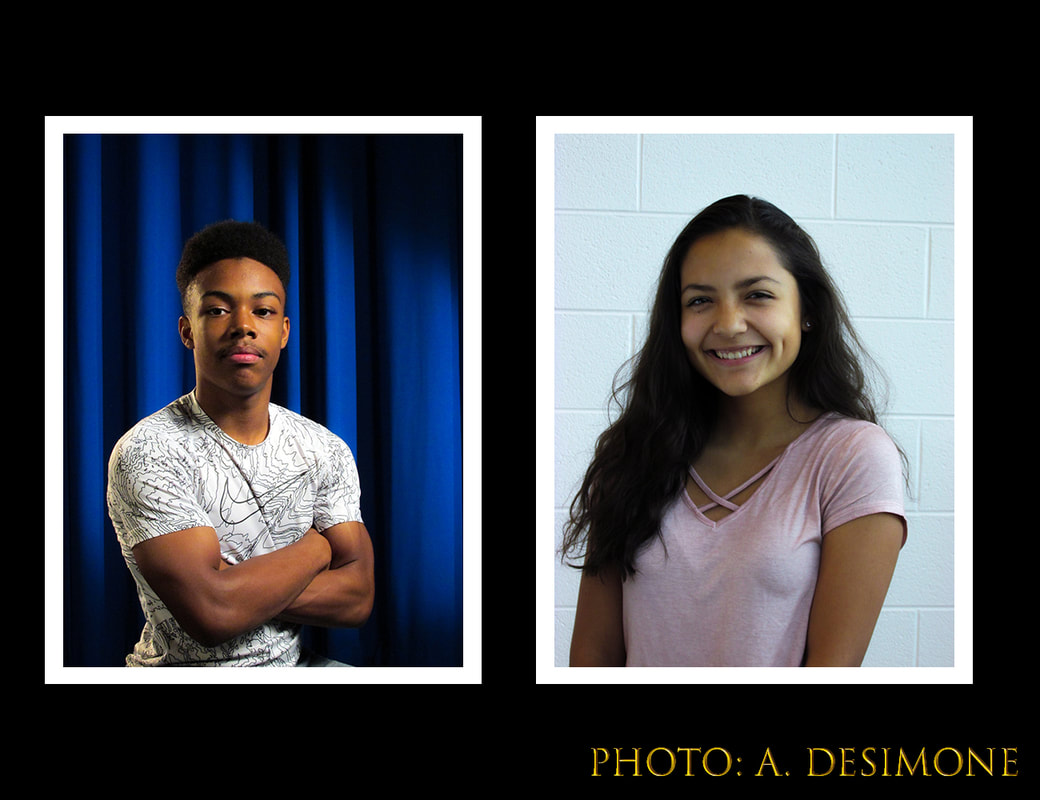
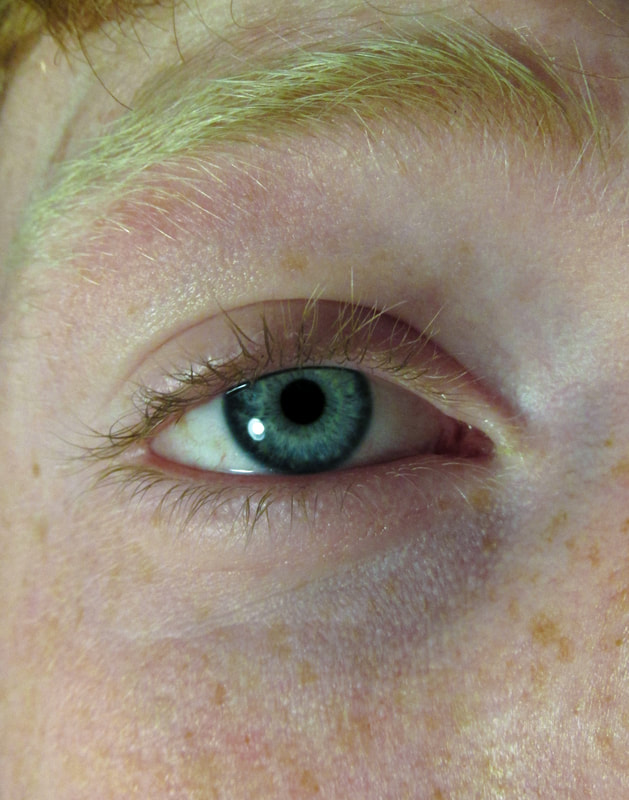
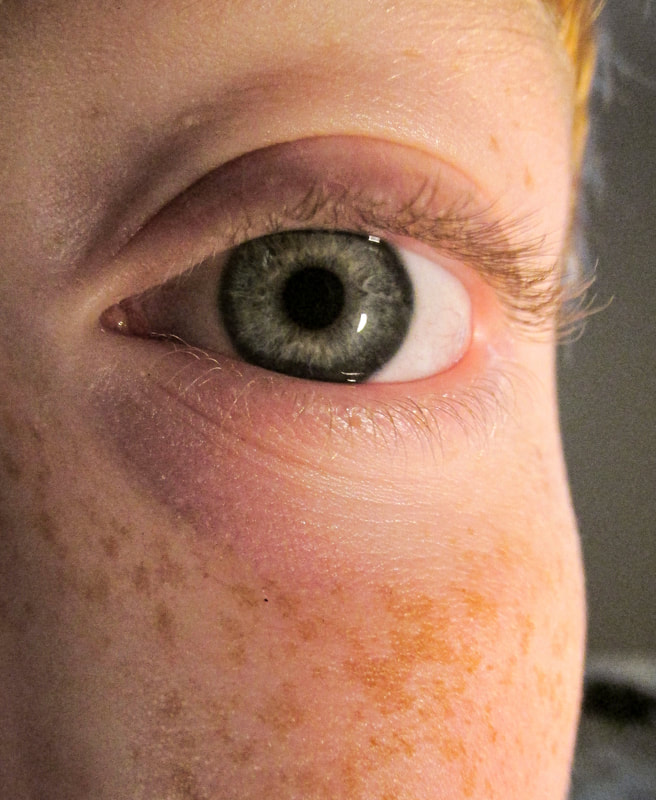
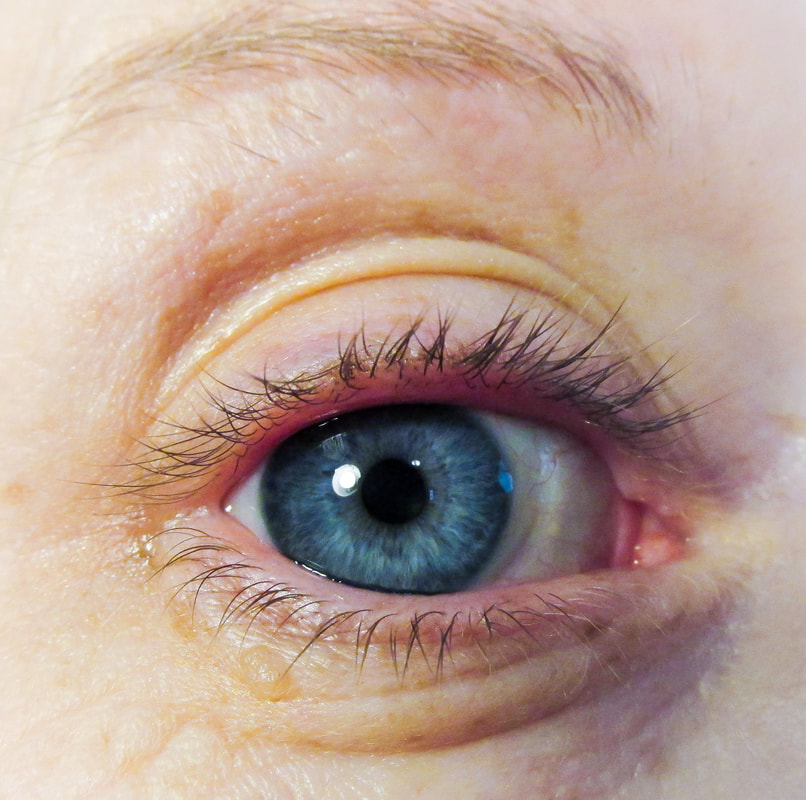
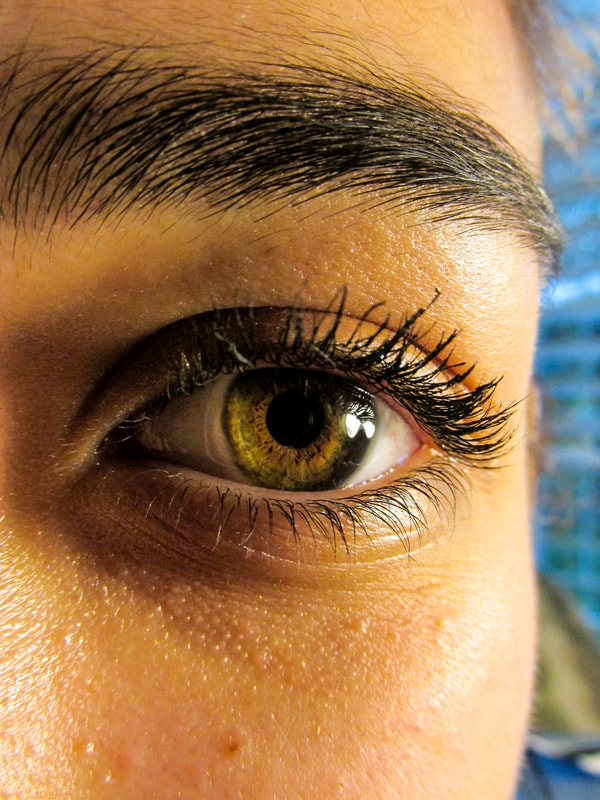
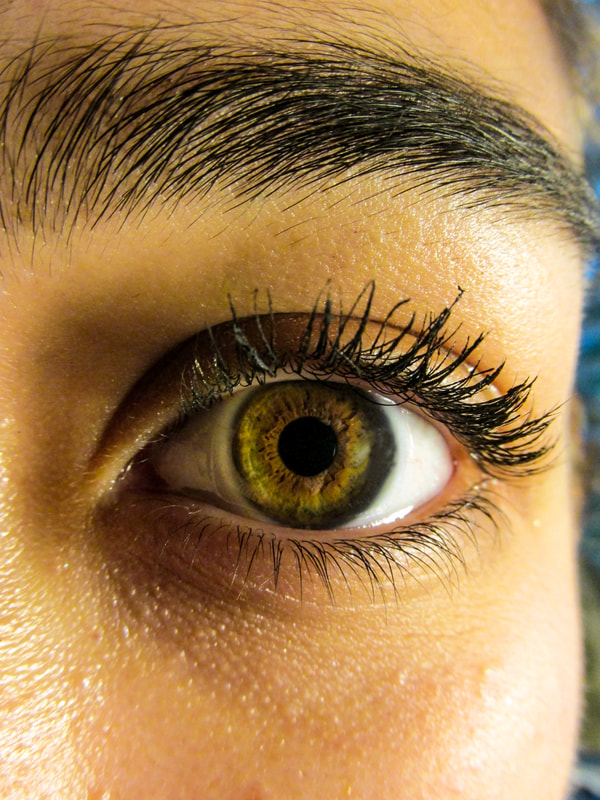
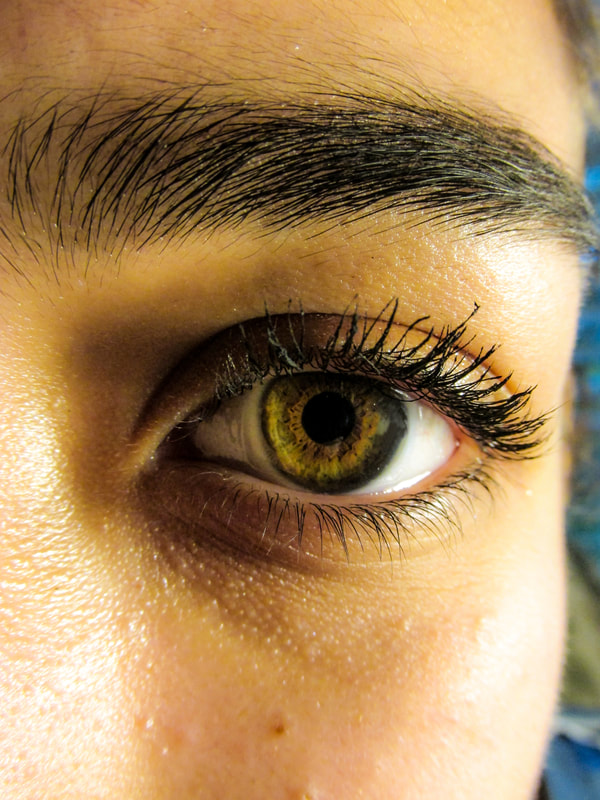
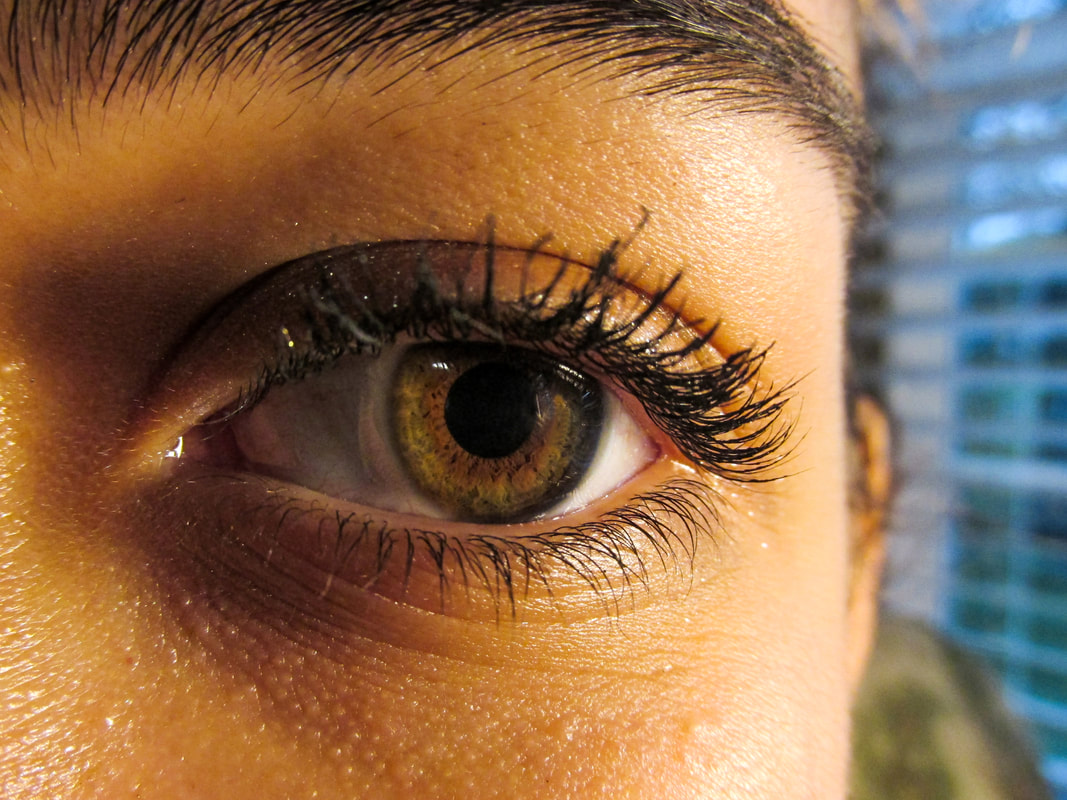
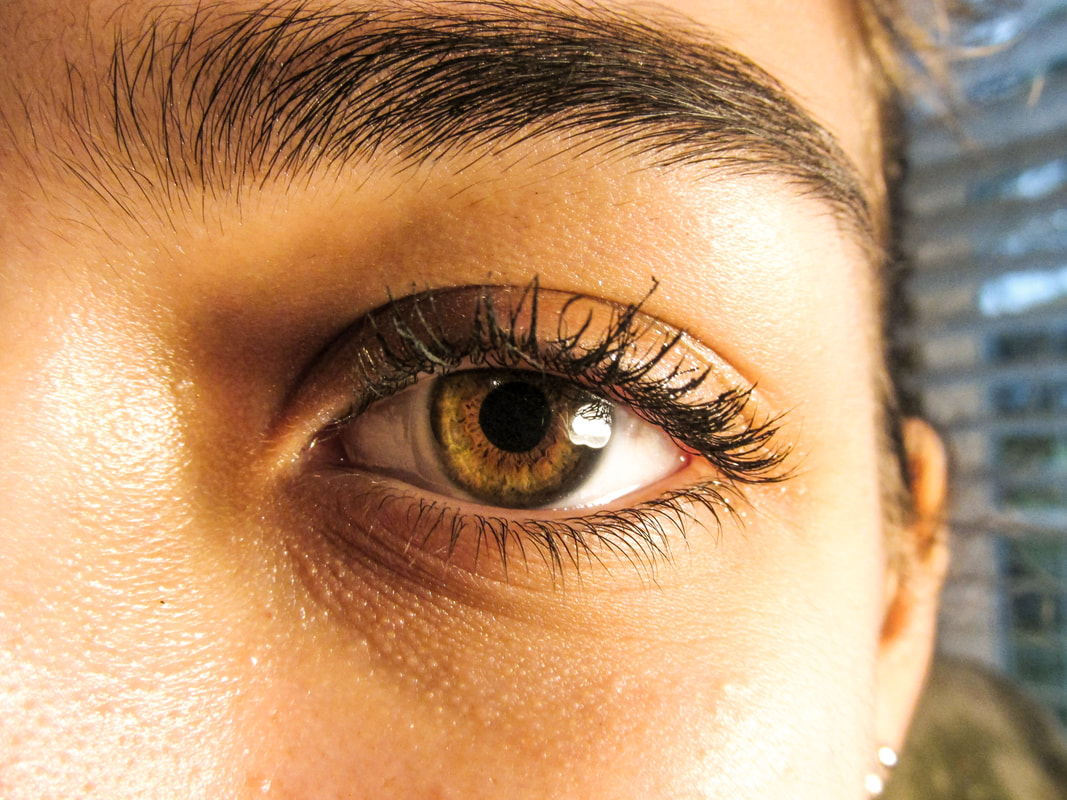
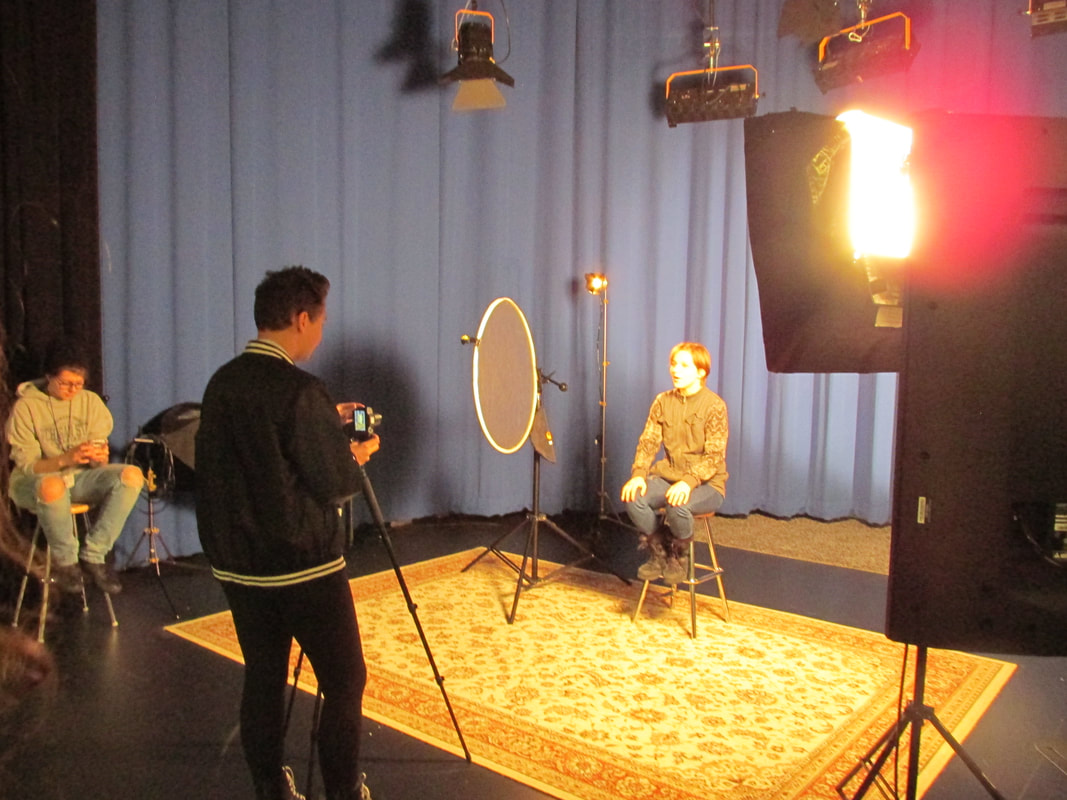
In this photoshop assignment, I set up a camera on a tripod, took multiple shots of Andrea in different positions, and then compiled all of them into a stack. Then, I selected Andrea in each of the pictures and made a layer mask so only Andrea was showing up and the rest of the photo was hidden. This allowed the picture underneath to be seen, and in that, the next picture of Andrea. It mostly used all the skills I'd already learned once I got into photoshop, but the new skill was stacking the files using the script option under files. I also edited in camera raw to reduce the noise reduction and get rid of the blue tint. The end result is a picture with Andrea in multiple places doing different things but in one image. Below are the pictures before they were stacked, and then the finished product is underneath them.  This assignment was originally supposed to be macro, but I was taking pictures of my little brother's eyes, and I realized I'd much rather just take pictures of people's eyes. For me, eyes tell such a cool story, and they have such an impact on an image. They're like a window to the soul and really beautiful, although they are often overlooked. I had a little trouble getting the right exposure so I had to introduce light using a desk lamp. The eyes I used are from my mom, my two little brothers, and my friend, India. I learned exactly how awkward it is to have my camera that close to someone's face. 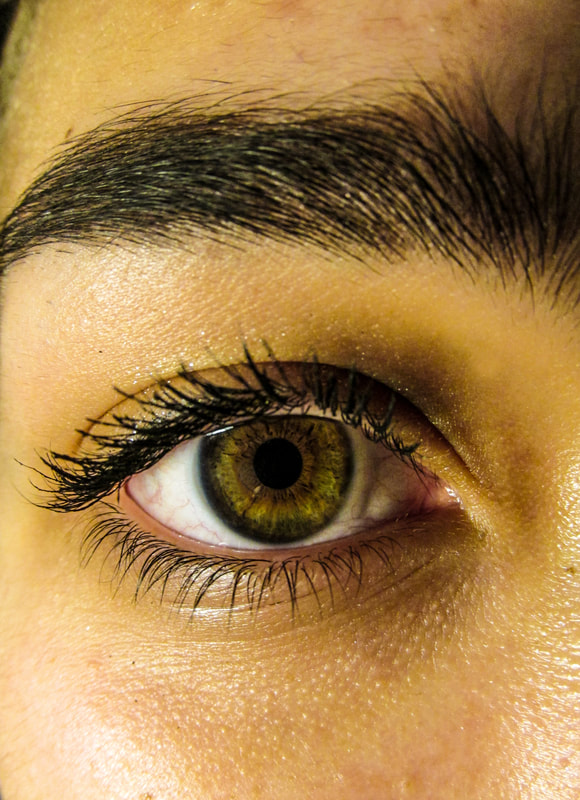 Shutter Speed: 1/100 Aperture: f/3.5 ISO: 400 For this image, I sharpened the clarity a lot and actually lowered the shadows to allow more detail in the eye to be shown. I couldn't really edit the photo too much without making a fake-looking skin tone or something ridiculous like that, so I darkened the picture's blacks a little to add more of a dramatic punch and then left it alone. For this project, I learned two different styles of lighting to take portraits with. The first technique we used was window lighting, where I used a window and a reflector to bounce the light back on the shadowed side of the subject's face. The second technique was three-point lighting. There is a key light, the strong light that shines on the subject, a reflector to bounce light from the key light back on the subject, and a hair light to separate the subject from the background. I also learned some helpful tips for portrait composing, such as lining the subject's eyes up on the top third's line. Then, I edited them in photoshop to frame them.  Below are the two techniques:) |