|
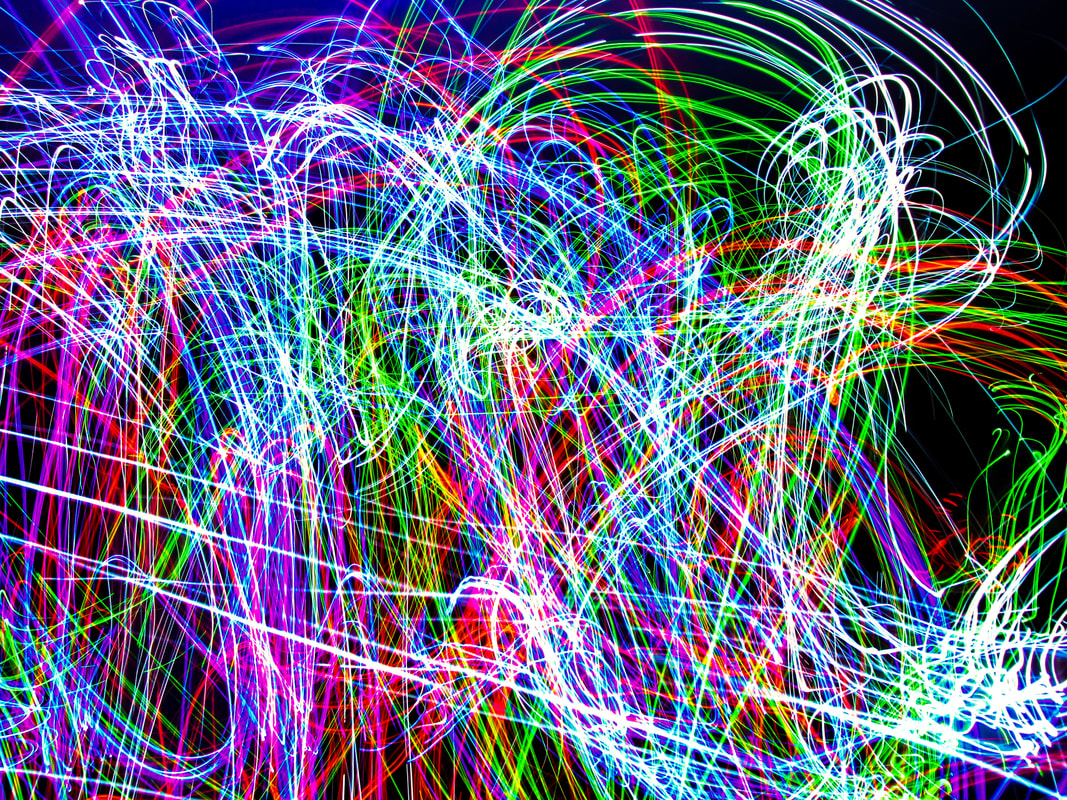
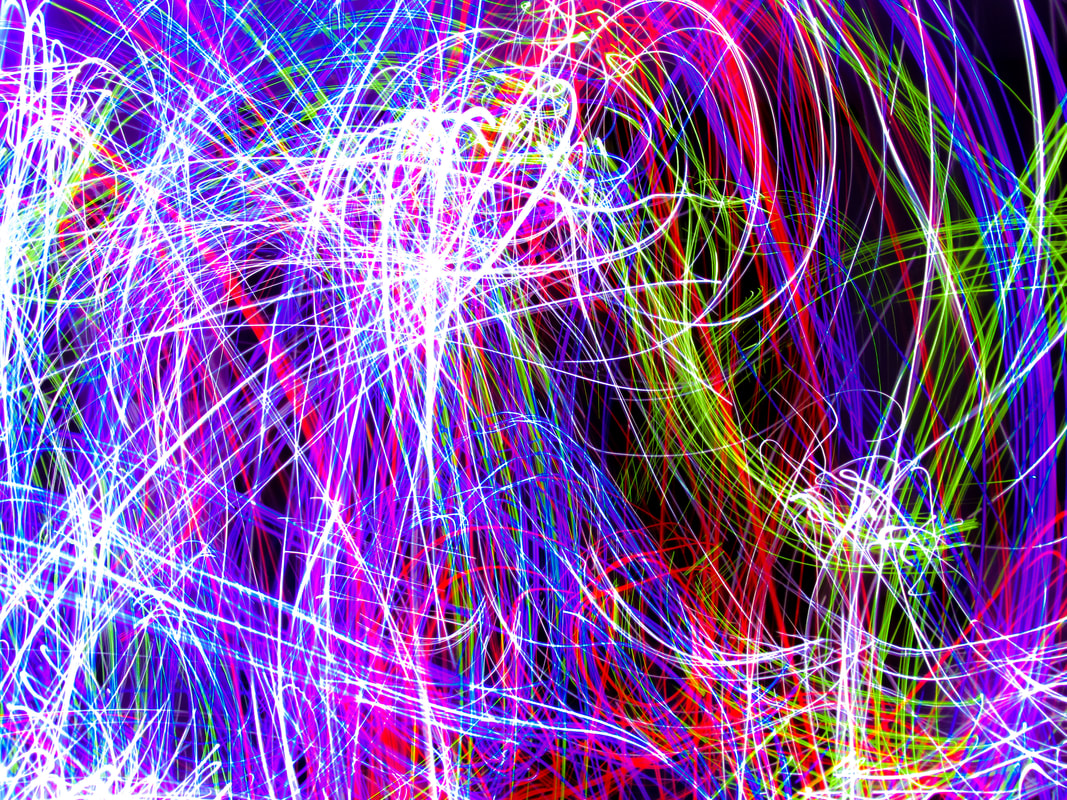
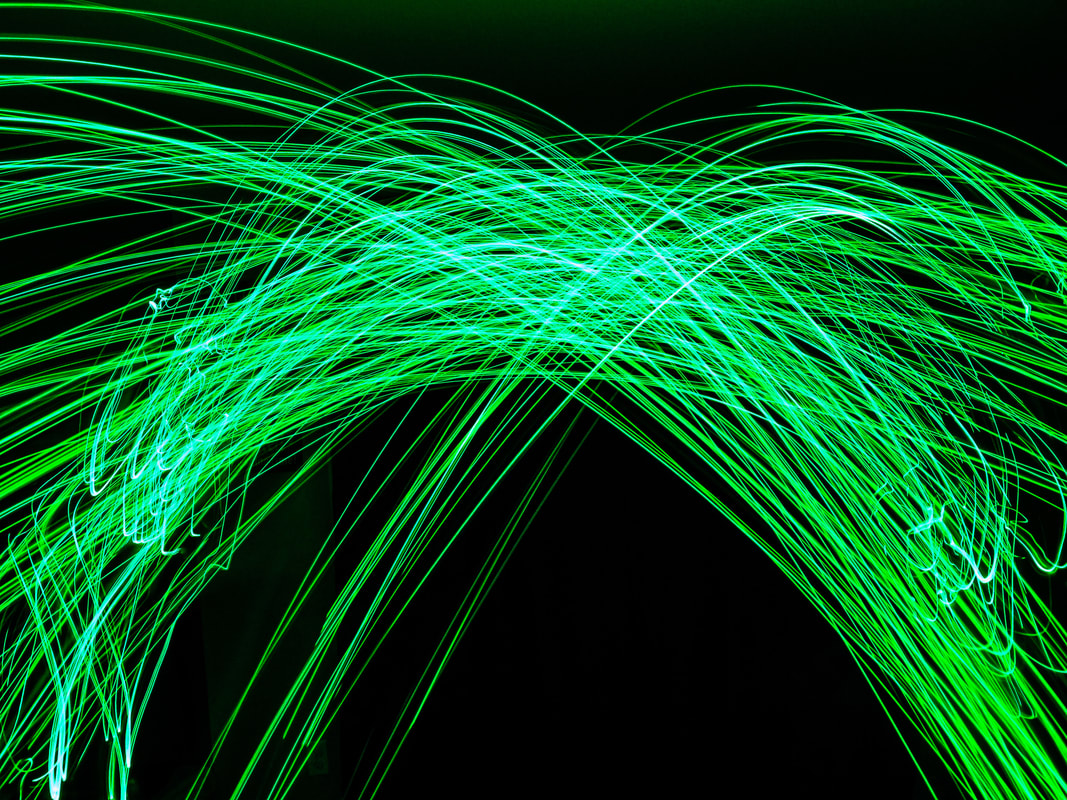
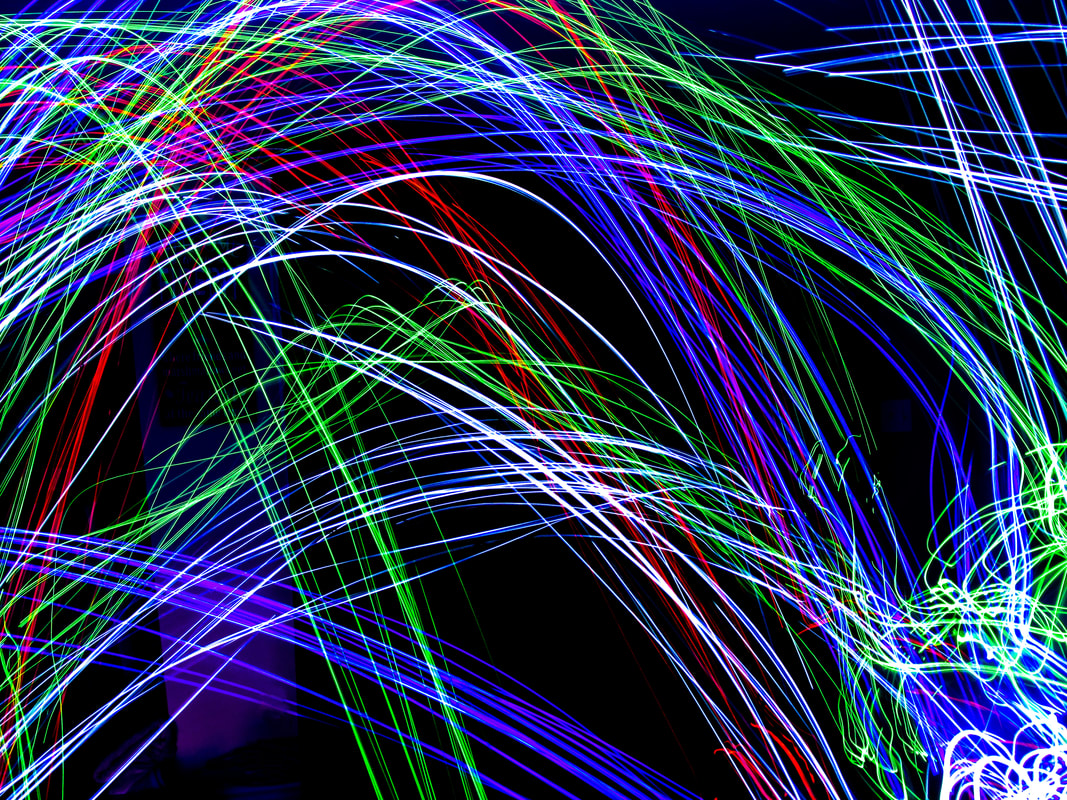
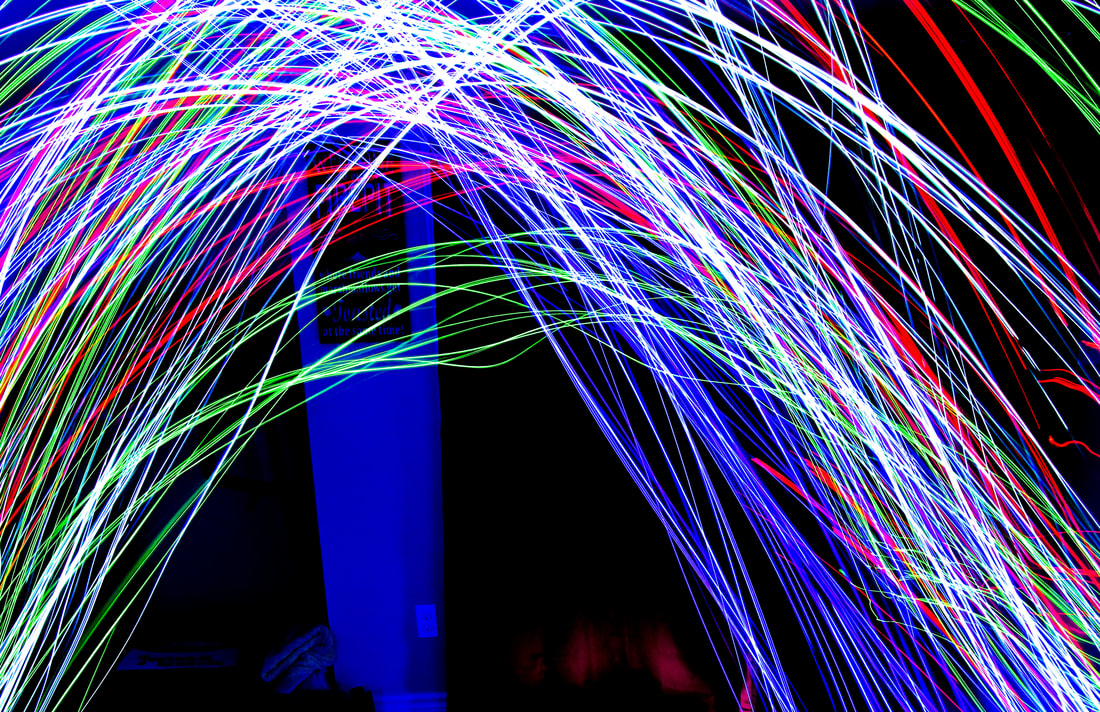
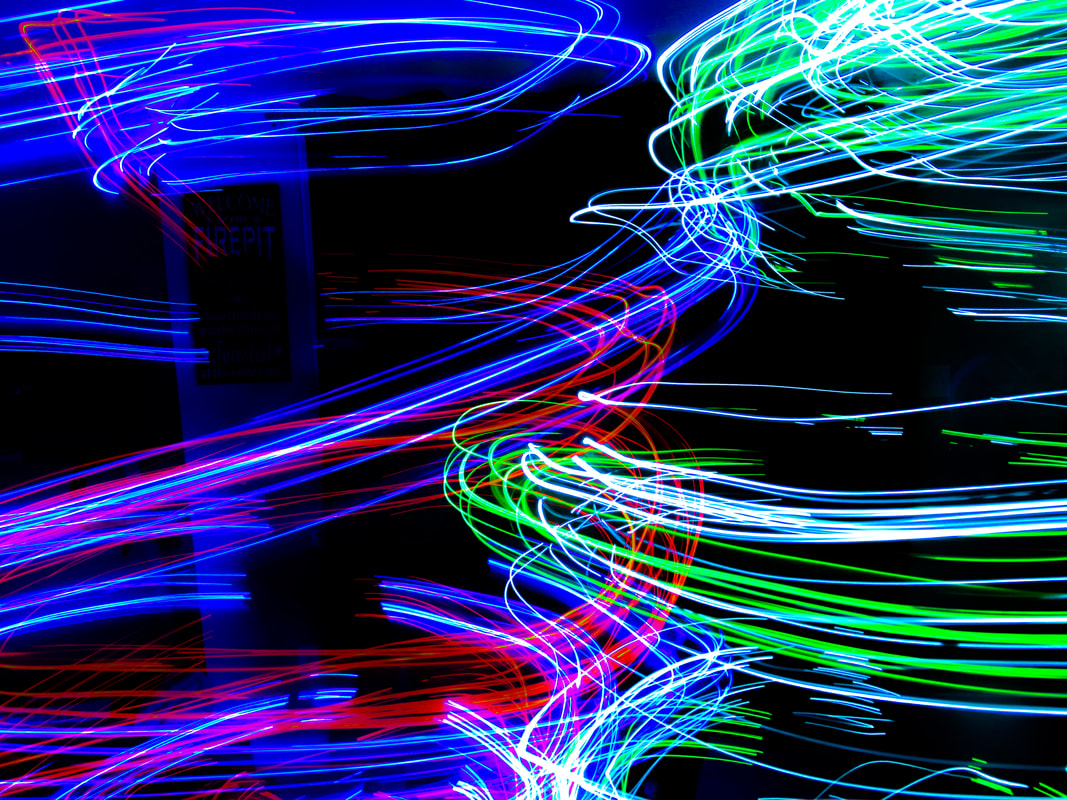
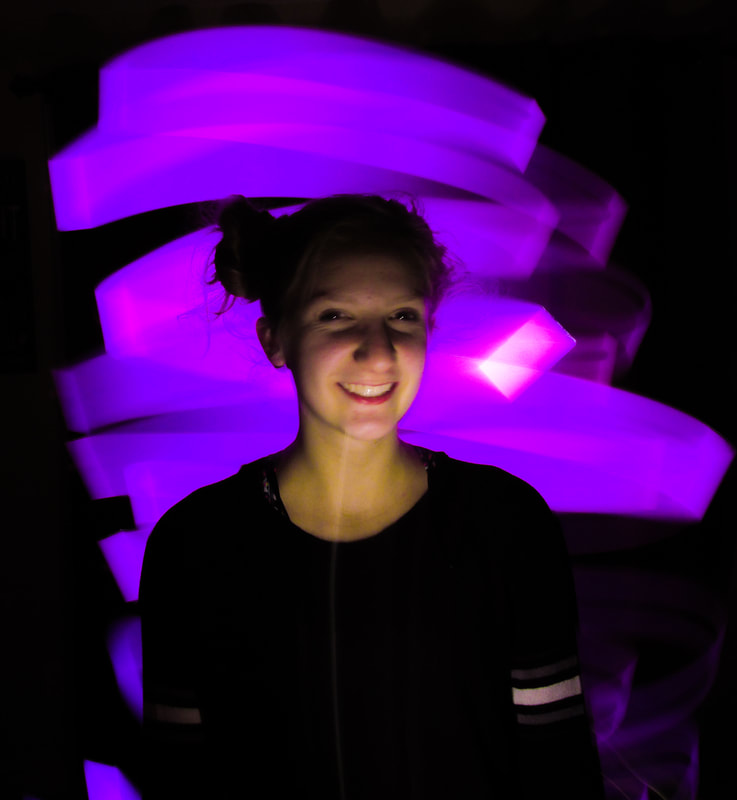
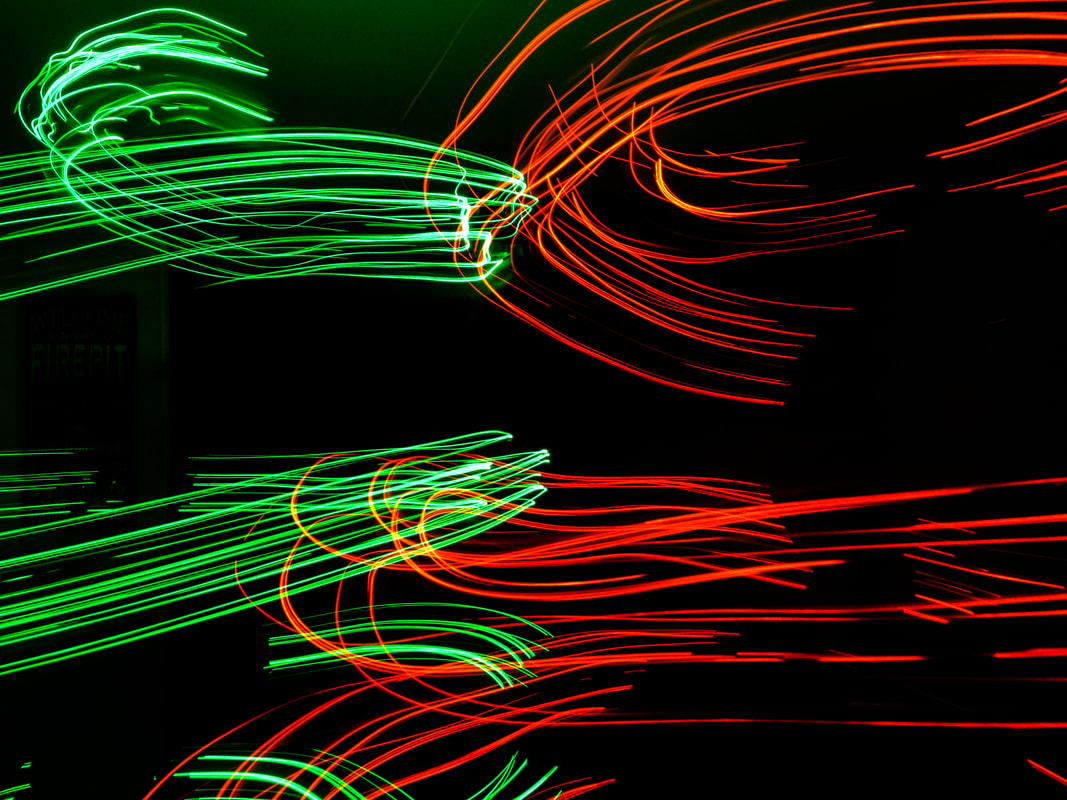
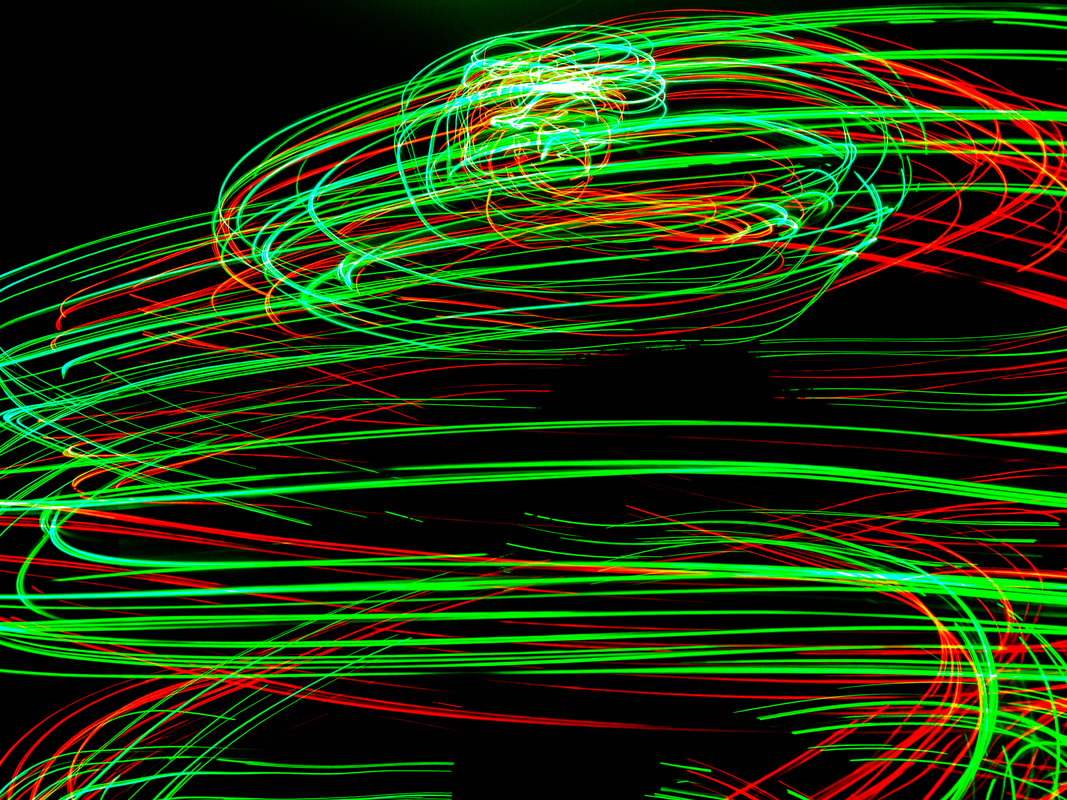
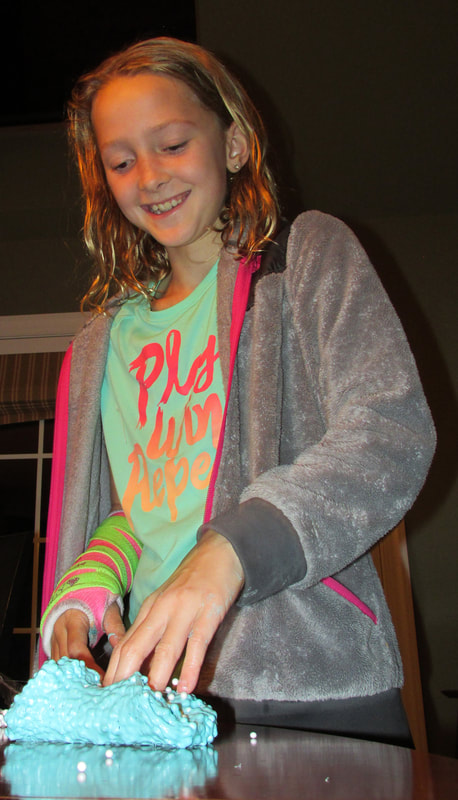
For this assignment, I shot light painting. To do this, I slowed my shutter speed way down and turned off all the lights besides the ones I used. My friend Tori spent the night Saturday, so we set up my tripod in the basement and just shot pictures for two hours. Originally, we were planning on making arcs with the little white guy in the middle of the picture below because he changes colors whenever he hits something, but Tori threw him really hard, so he hit the wall and broke. We improvised by taping Tori's battery-operated christmas lights to the balls you can win out of claw machines and throwing those instead. We also danced and spun around to create light trail-filled shots. I learned that light painting is ridiculously hard to get in focus, especially if you want a subject. 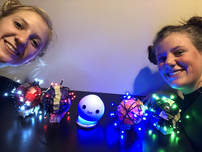 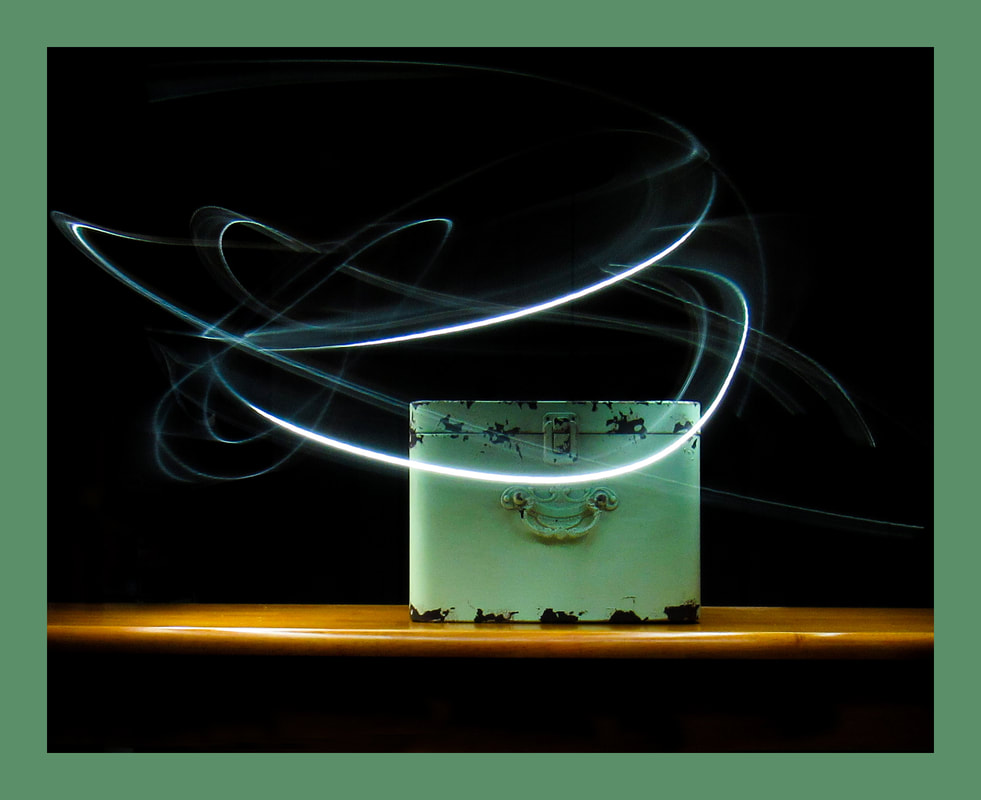 My Best Picture Shutter Speed: 15.0 Aperture: f/4.5 ISO: 100 To edit this picture, I darkened the shadows and blacks, as well as clone stamped out a few random light trails from us entering and exiting the shot.
0 Comments
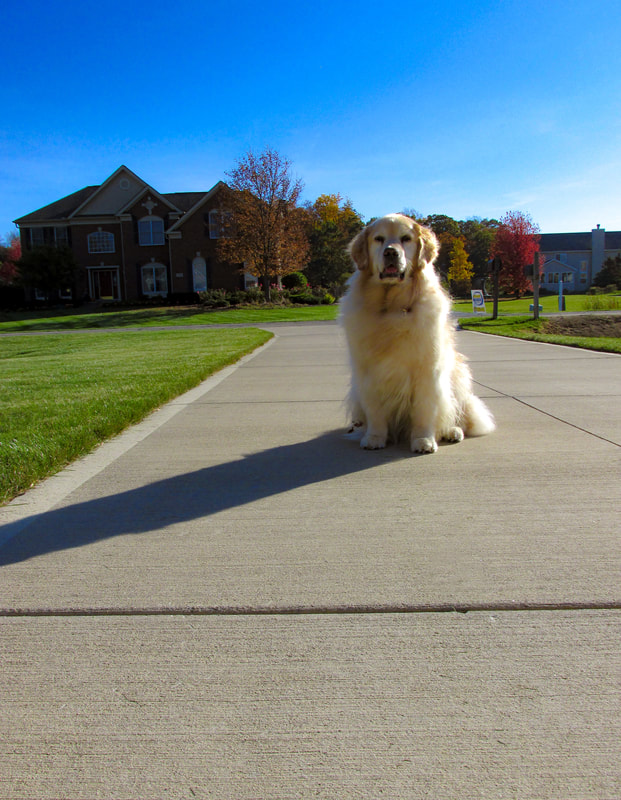
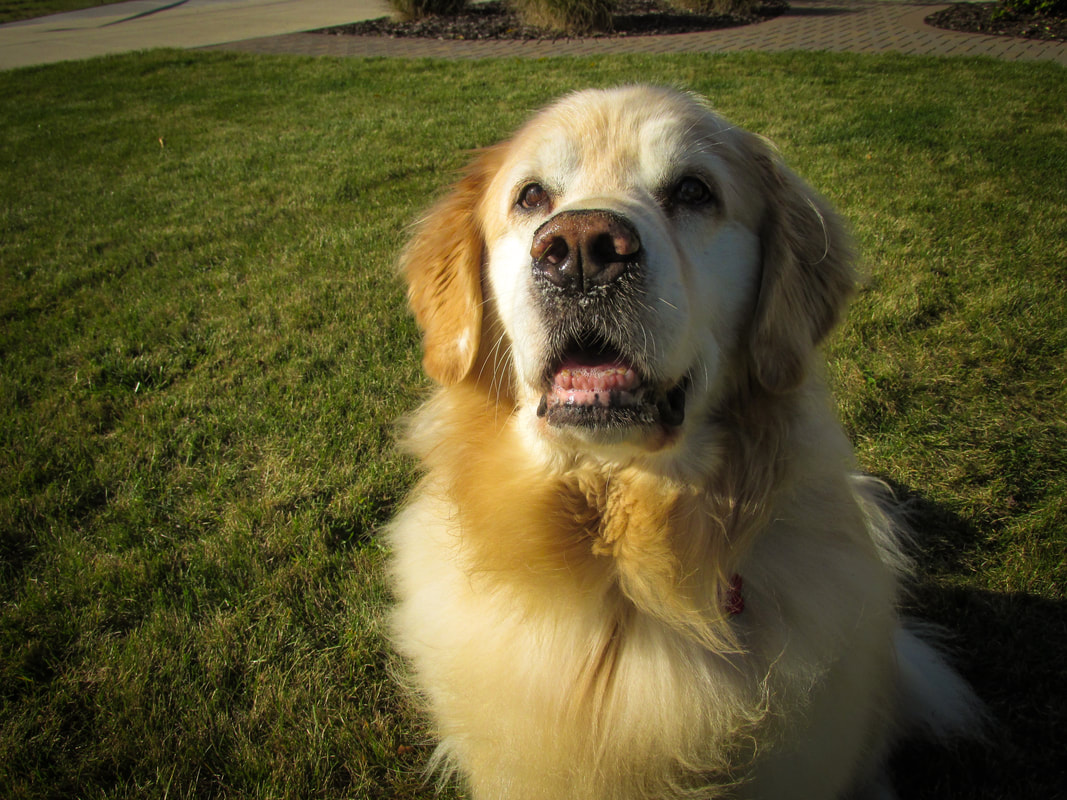
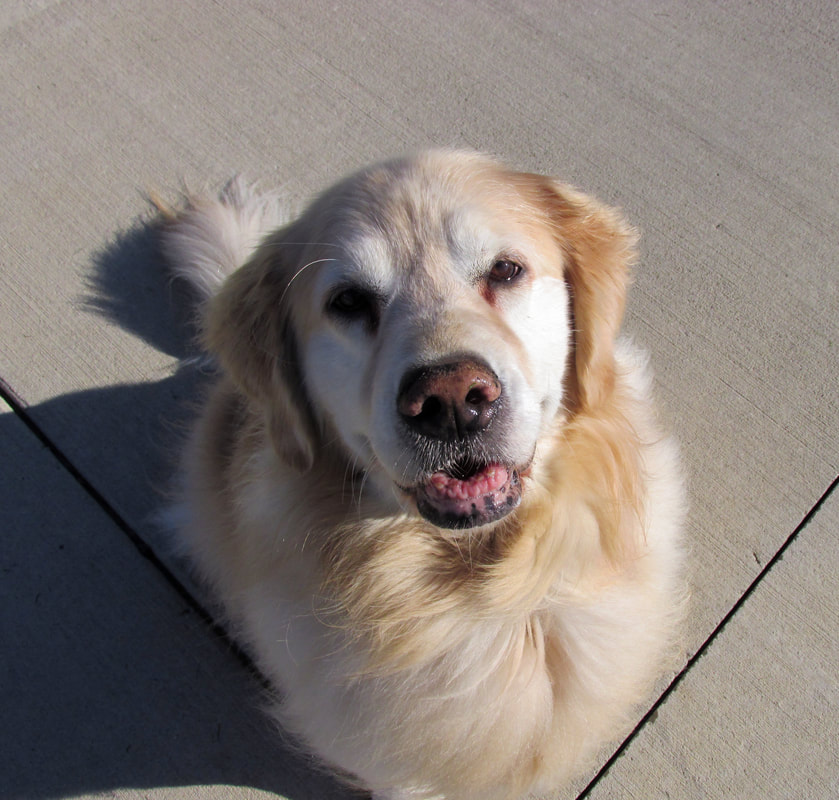
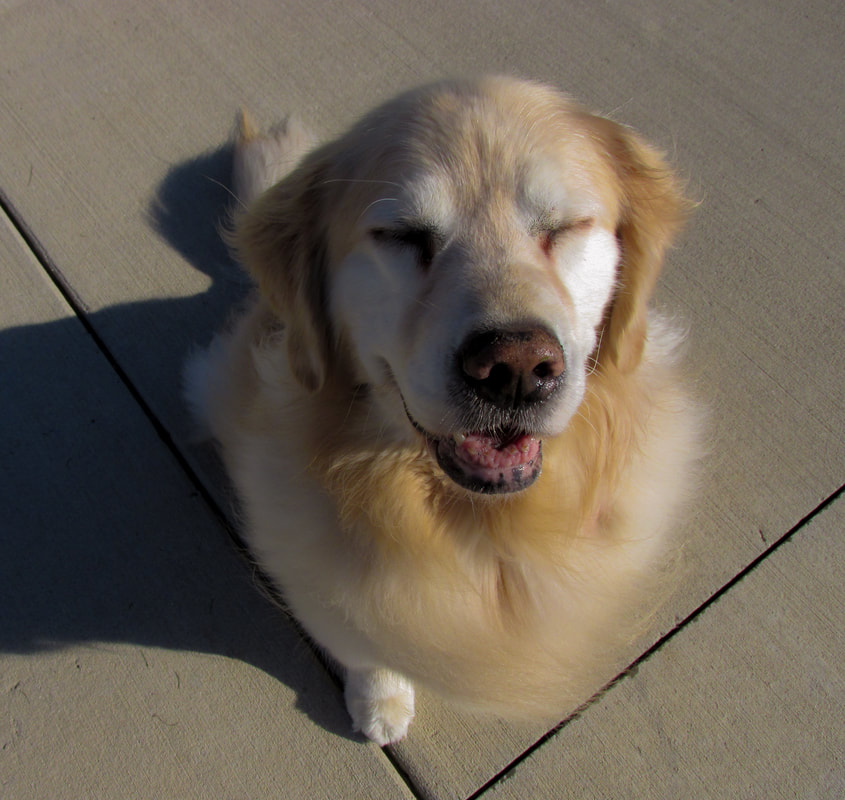
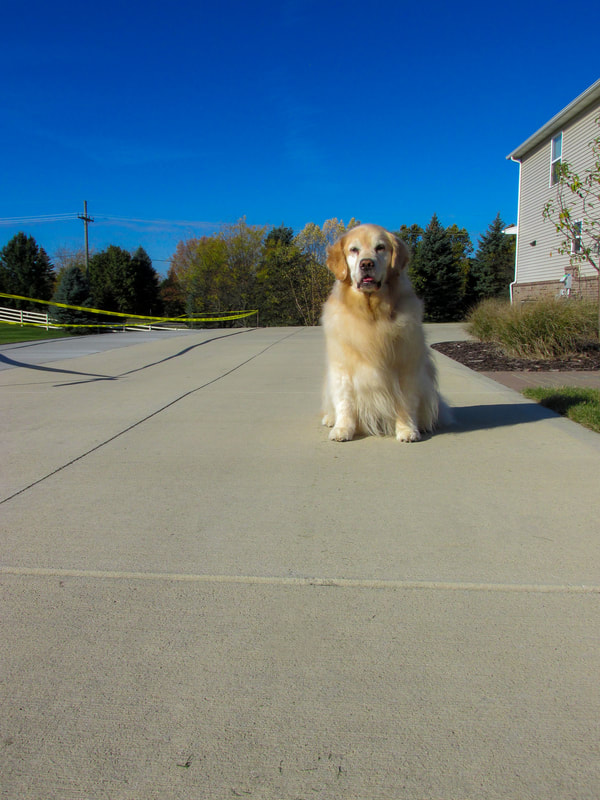
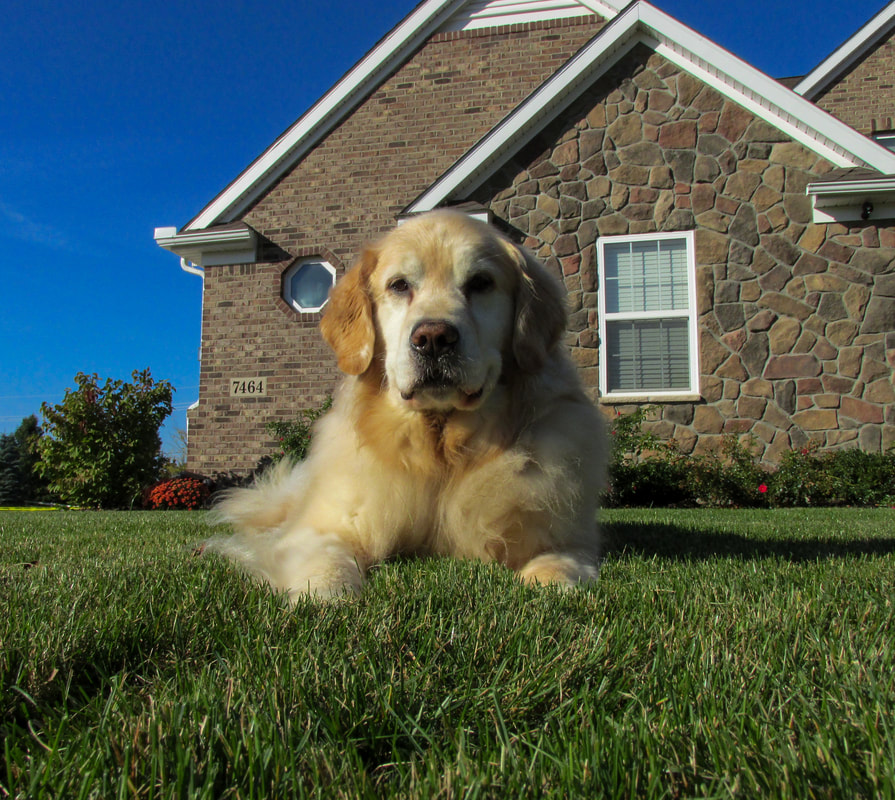
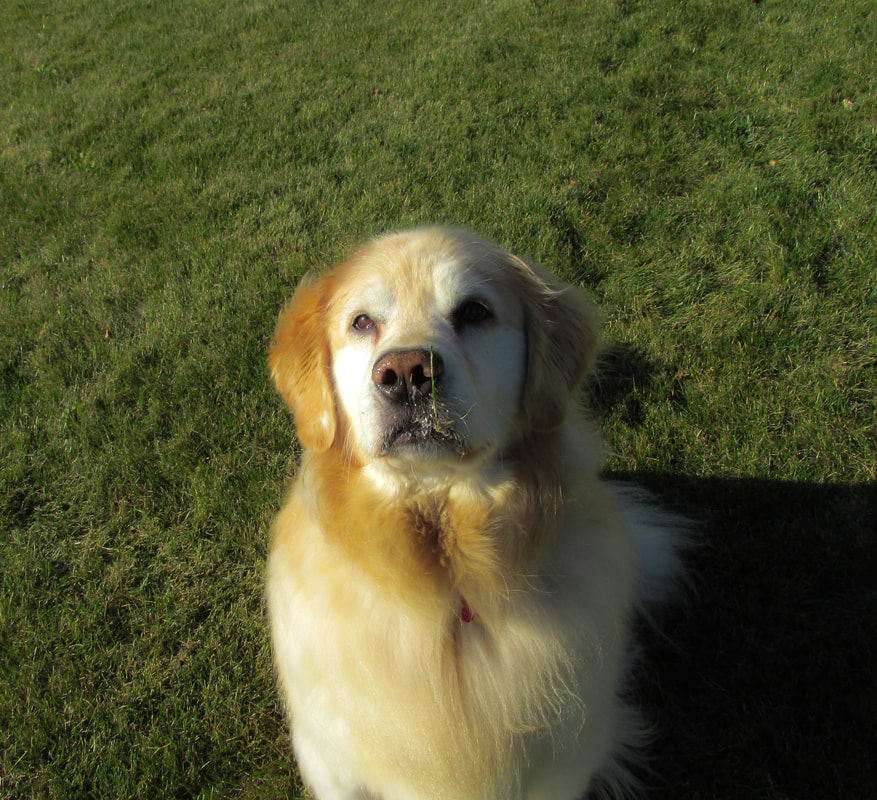
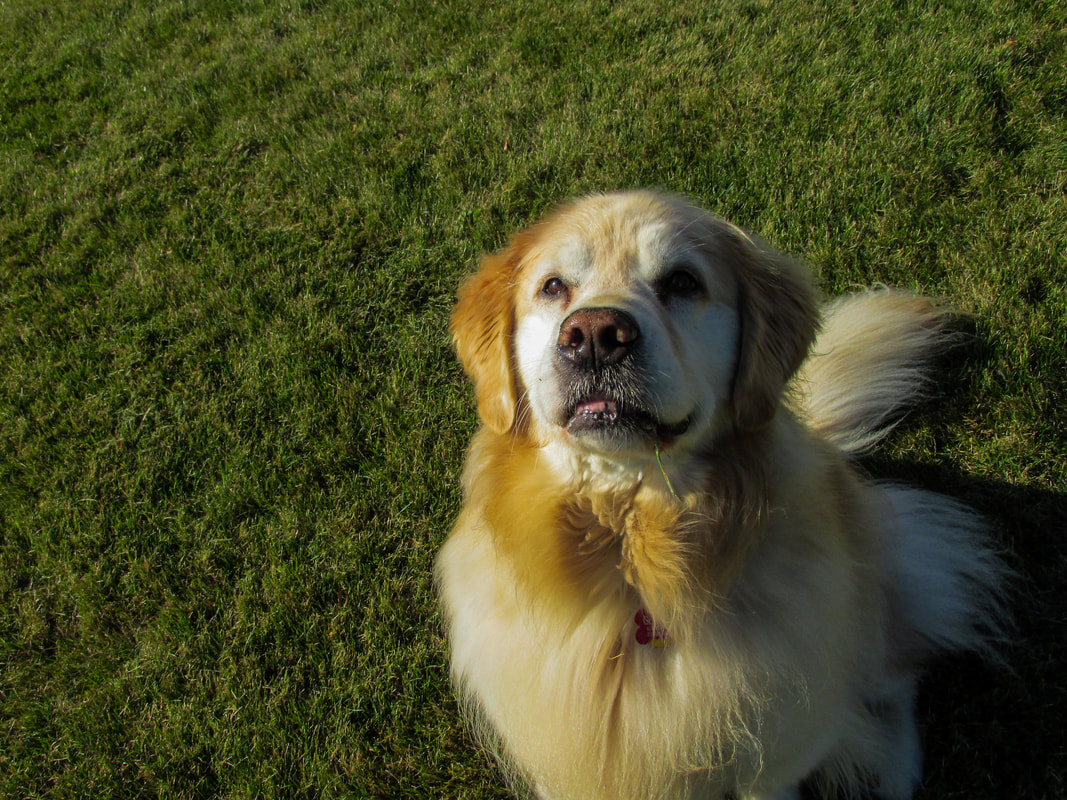
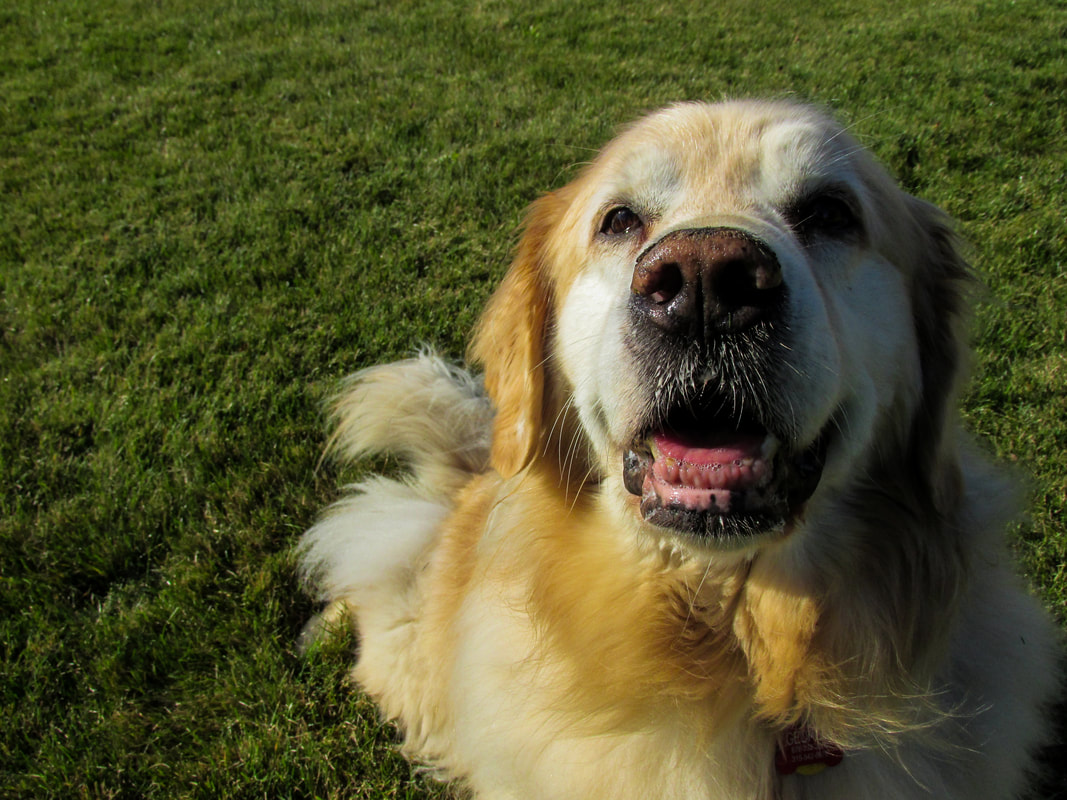
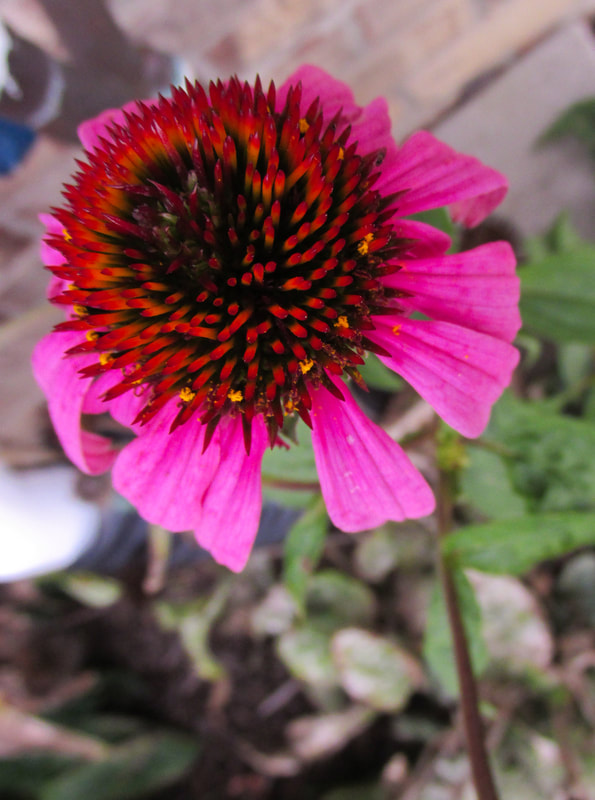
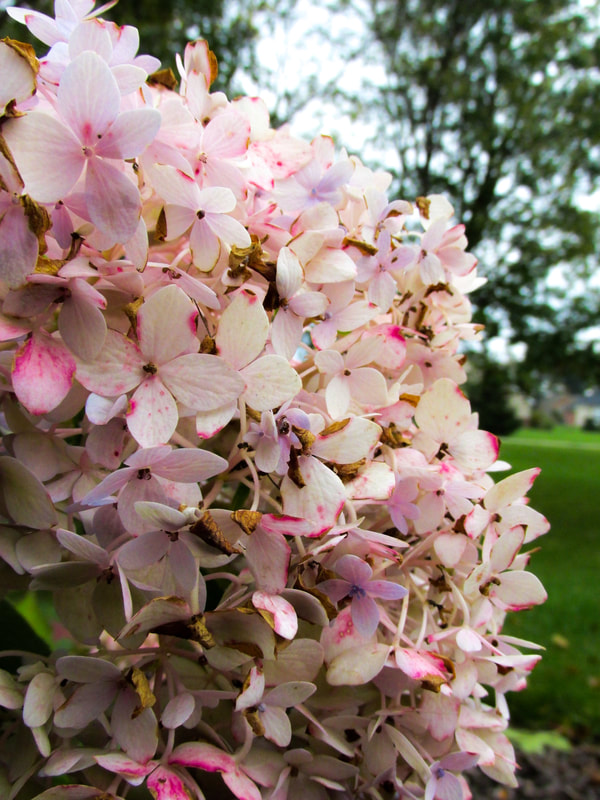
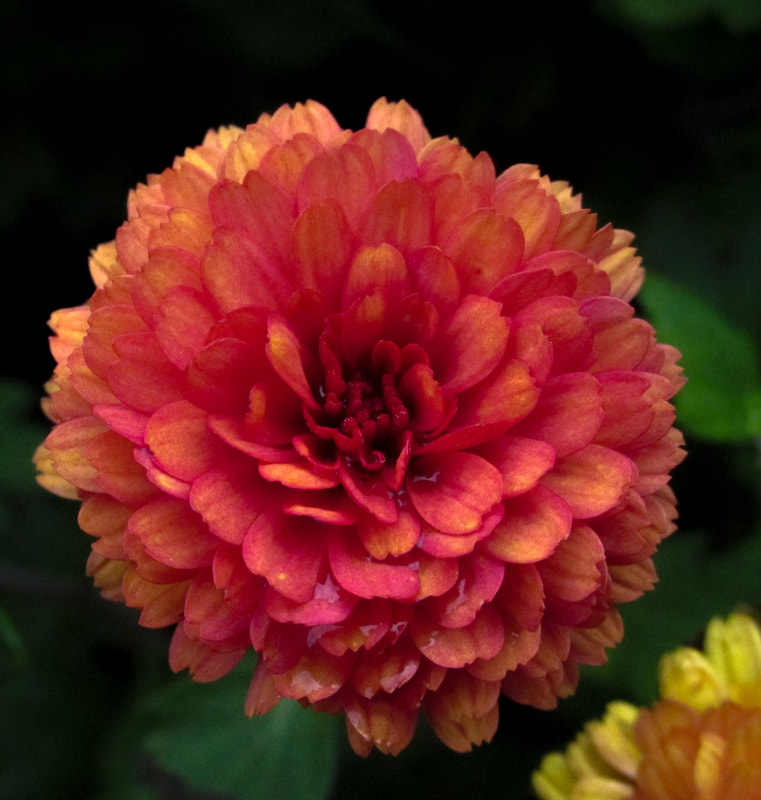
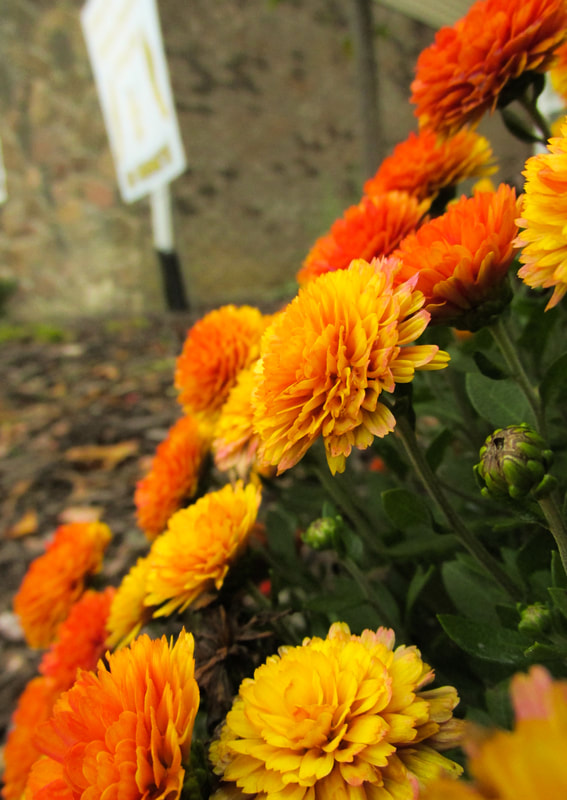
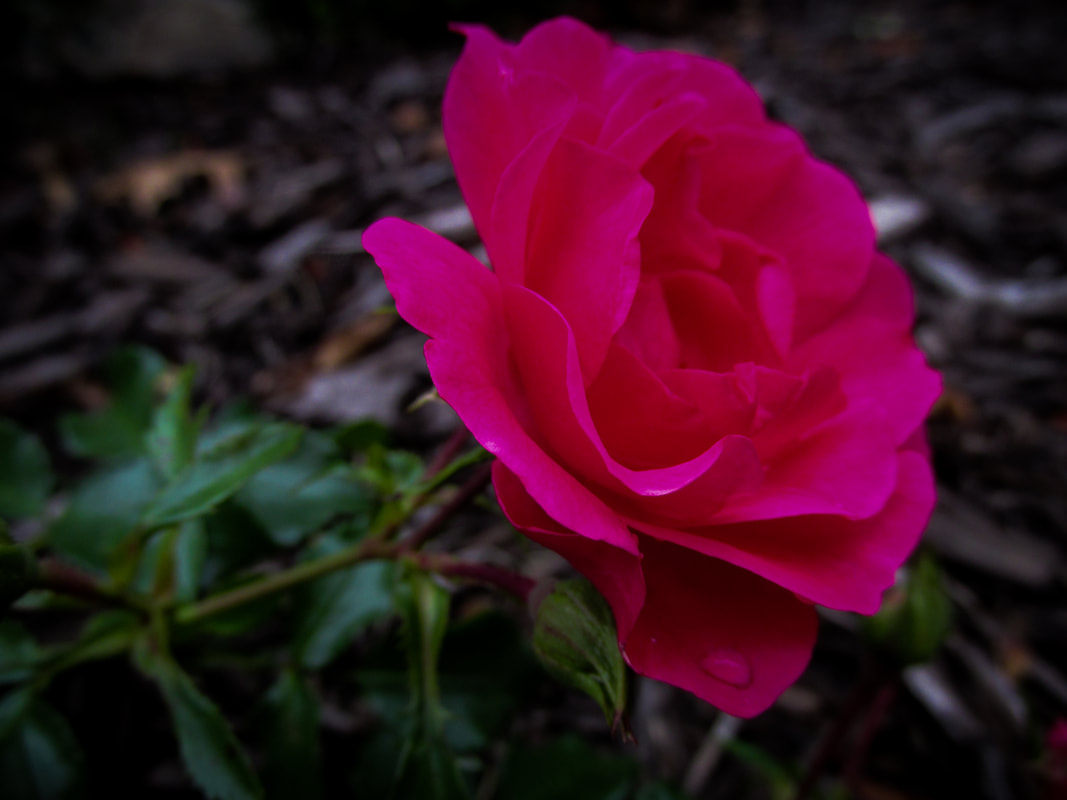
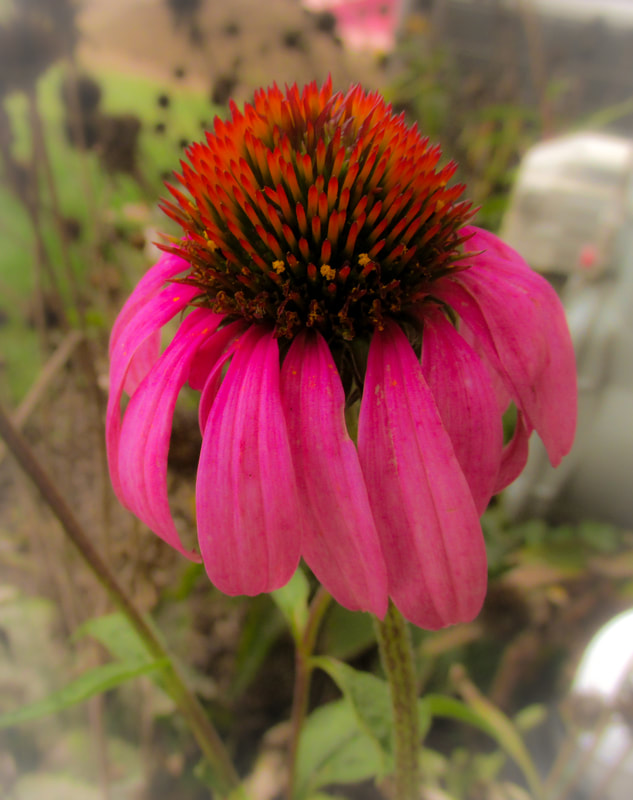
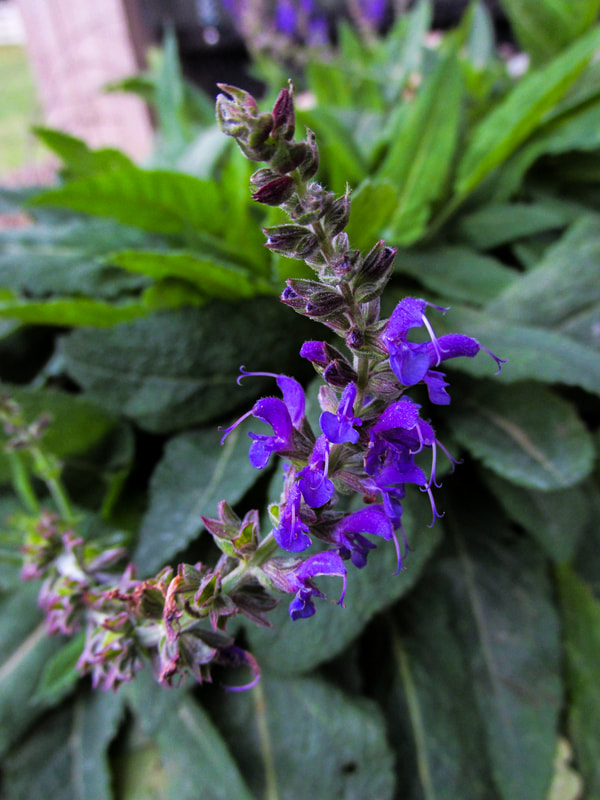
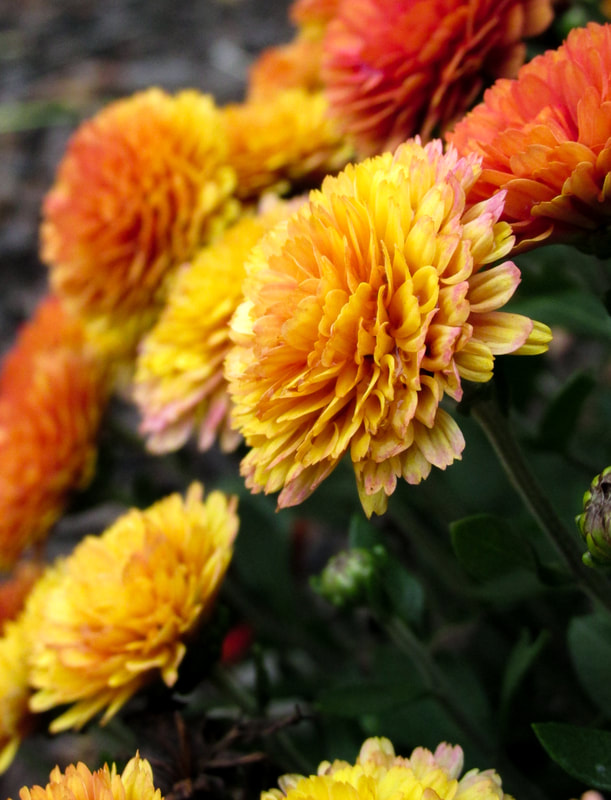
For this assignment, we took our cameras and tripods to take multiple pictures of a subject and then merge them together to make a panoramic. It was a little challenging because the temperature had finally dropped, so after about 15 minutes, my fingers were cold and didn't want to bend to move the camera or take the picture. Through this assignment, I learned how to use photomerge to blend multiple pictures into one, which was a lot easier than I expected it to be, as well as how to use a tripod (there's a first time for everything). All in all, this was a really fun and engaging photoshop assignment! 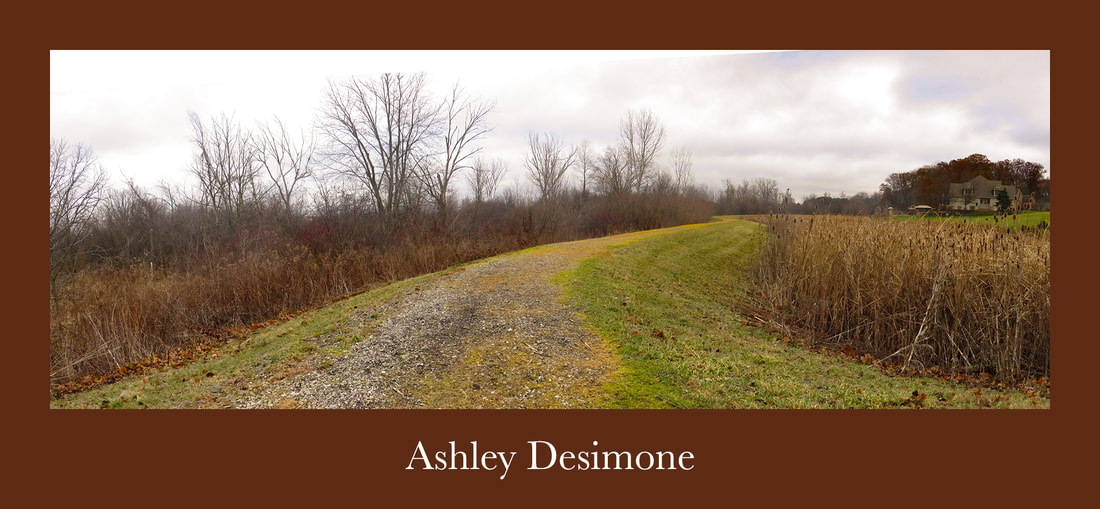 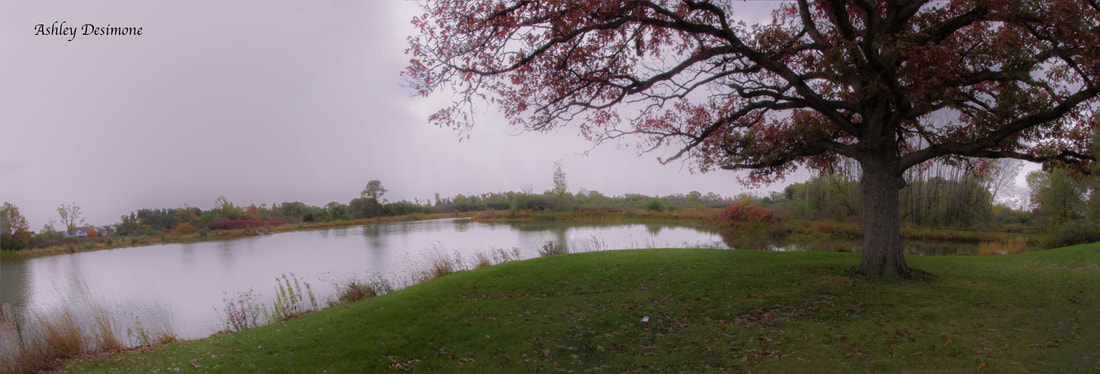 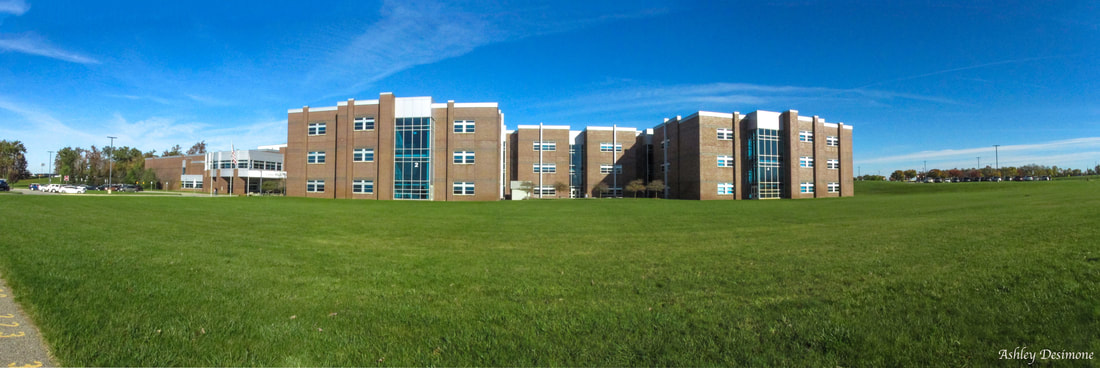 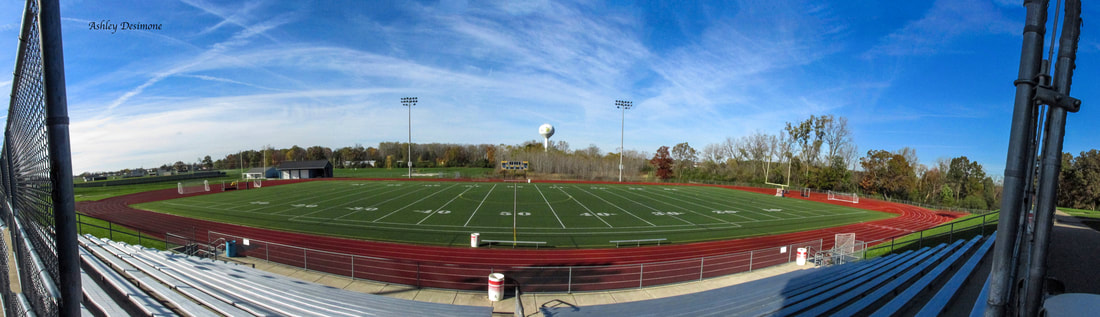 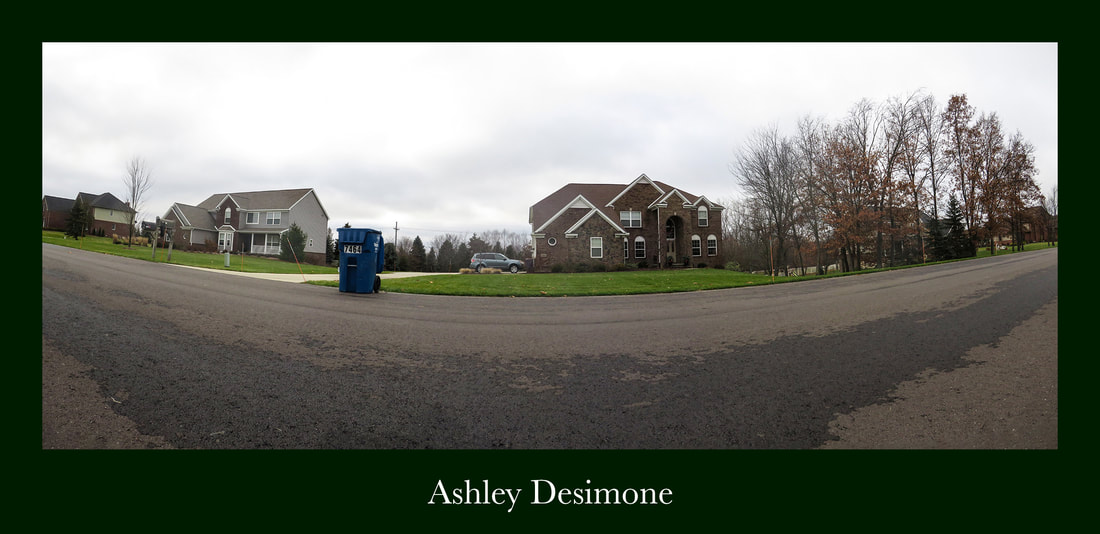 For this assignment, I took pictures of both of my dogs. However, one of them was not having it with me and looked like a grumpy, old dude in all my pictures, if he was even looking at the camera. Because of this, the only pictures here are of my golden retriever, Georgia. It turns out that dogs listen particularly well when you have goldfish in your hand. I held a goldfish above the camera to get her attention and then tried to snap a couple pictures before she lost interest. I had to be careful where I stood so I didn't get my shadow in the picture. 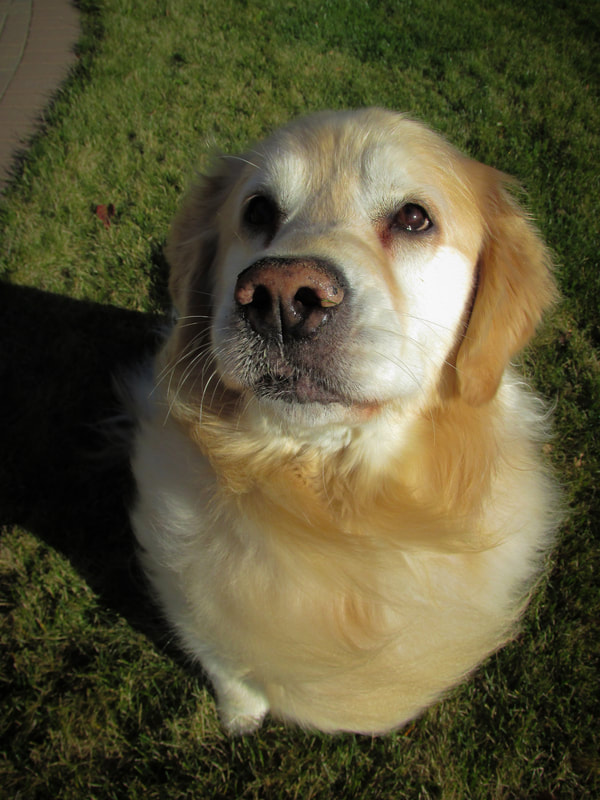 Aperture: f/4.5 Shutter Speed: 1/1000 ISO: 100 I edited this photo by lightening the whites and darkening the darks, as well as adding a faded black vignette to highlight the subject. I also lessened the clarity to give Georgia a softer, more angelic look. The purpose of this assignment was to take something ordinary from the school and add elements to it that wouldn't actually happen. The point was to make it look as believable as possible, as if the people or objects added were there in reality. For this assignment, I took a picture of the SHS swimming pool, as seen above. Then, I added characters from the Little Mermaid (Ariel, Sebastian, Flounder, Ursula, Flotsam, and Jetsam) as if they were in the pool. To make this more believable, I added reflections in the water. 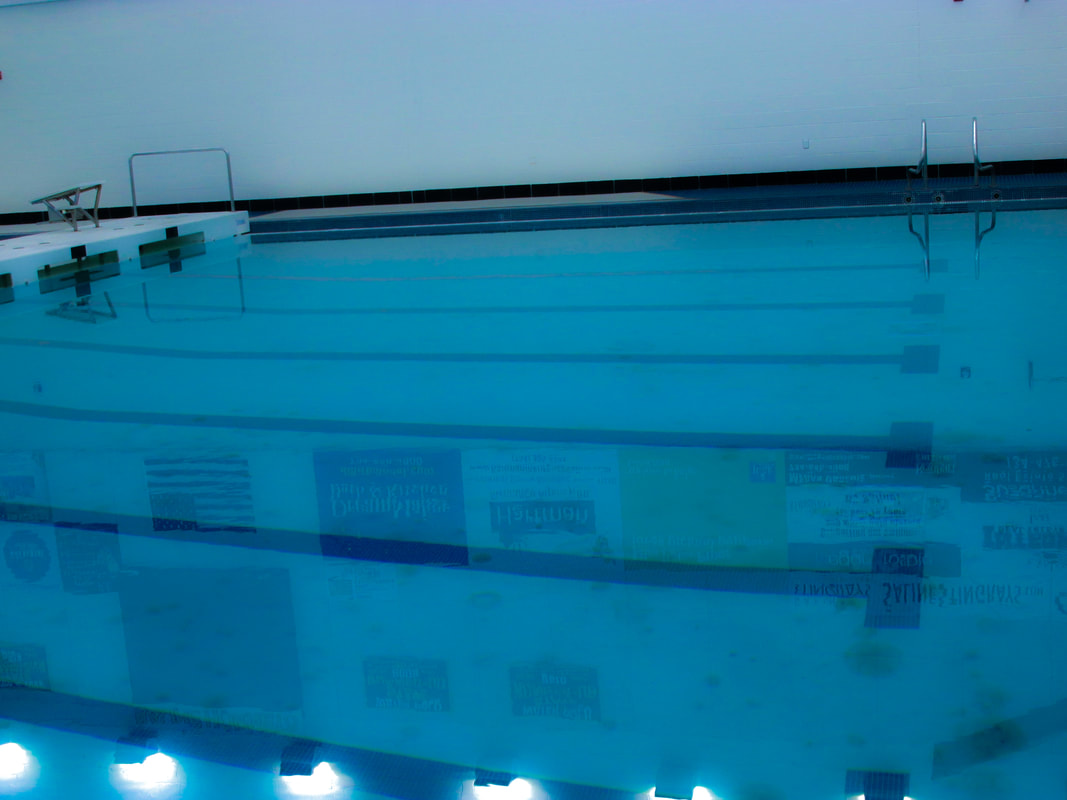 Before 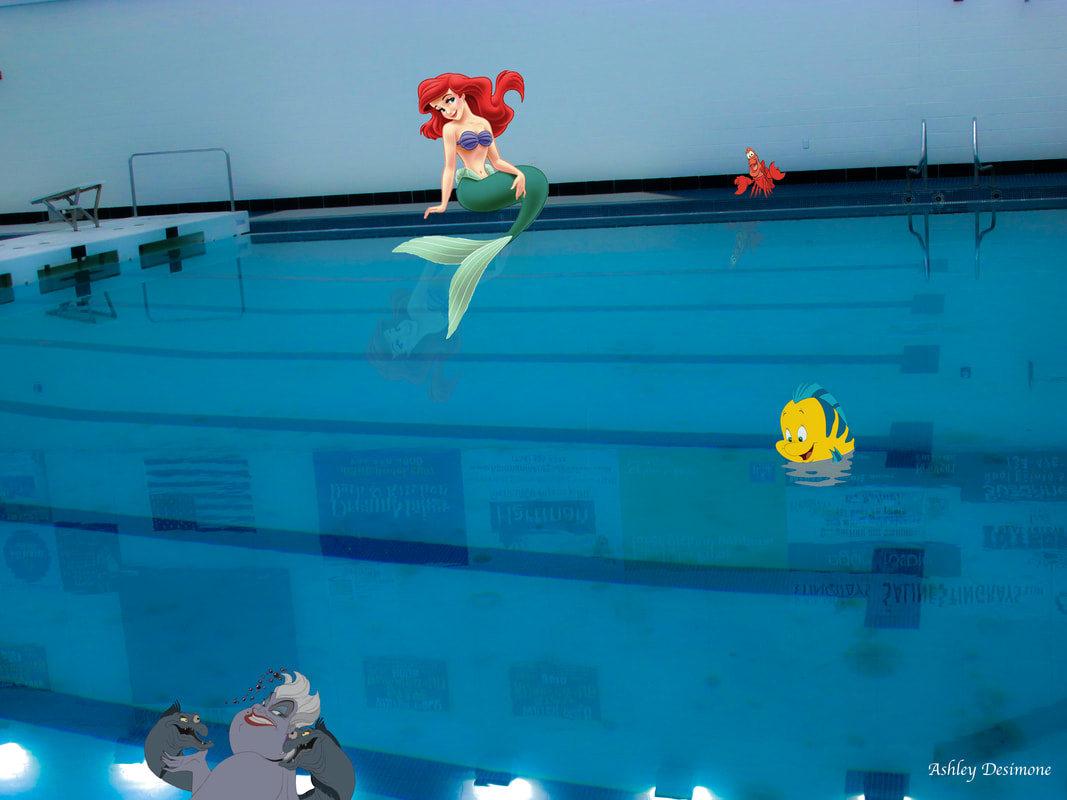 After For this assignment, I went outside and shot pictures of the flowers in my mom's garden. Unfortunately, this week had been really rainy, so I had to dash outside in the brief periods of time when it wasn't pouring. In this shoot, I learned the virtue of patience in photography. Not only did I have to wait for the rain to stop, but I also had to wait for the wind to stop blowing so the plants were still enough for me to take decent pictures without them being blurry. 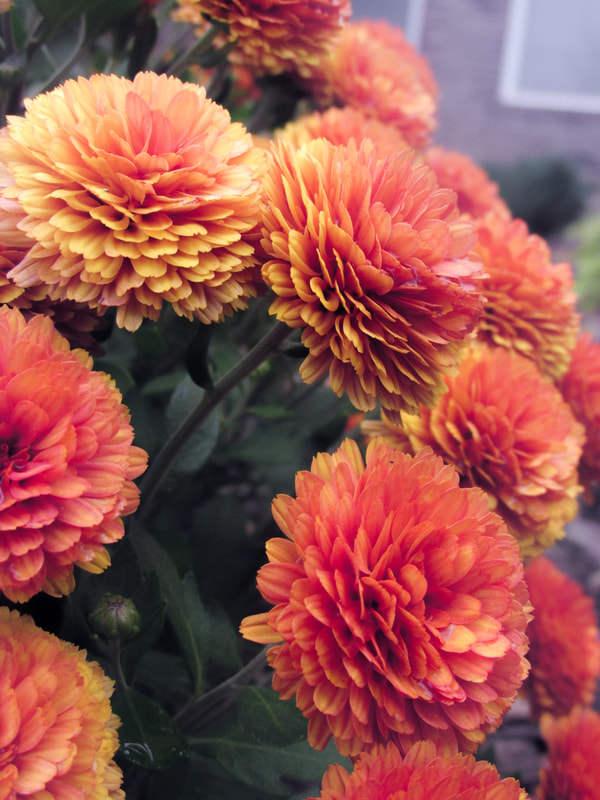 Aperture: f/4.0 Shutter Speed: 1/250 ISO: 400 To edit this photo, I lightened the exposure and tinted it magenta to make it feel warmer. I also saturated it a little to bring out the natural color of the flowers. I also clone stamped out a bug because it was bothering me. I didn't really edit it too much, though.
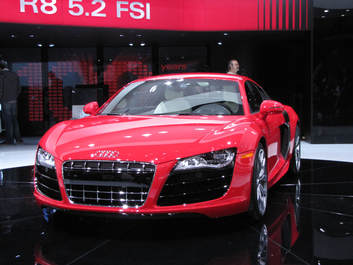
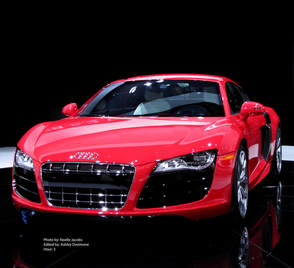
In this assignment, I learned basic edits in photoshop, like how to use levels and clone stamp. With the clone stamp, I covered up some of the reflections on the car's hood to decrease the distraction. I also used selection to both tint the windshield and remove the background in order to make the car stand out more. I learned how to add text to a picture and a lot of shortcuts within photoshop, too.
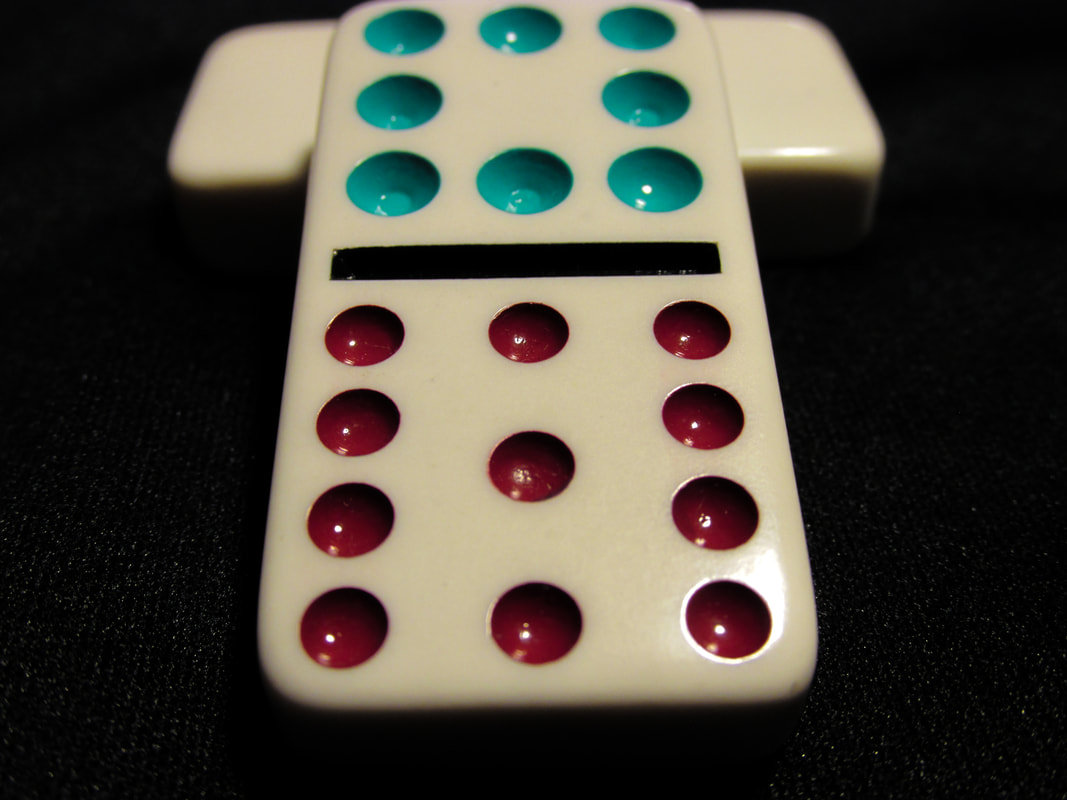
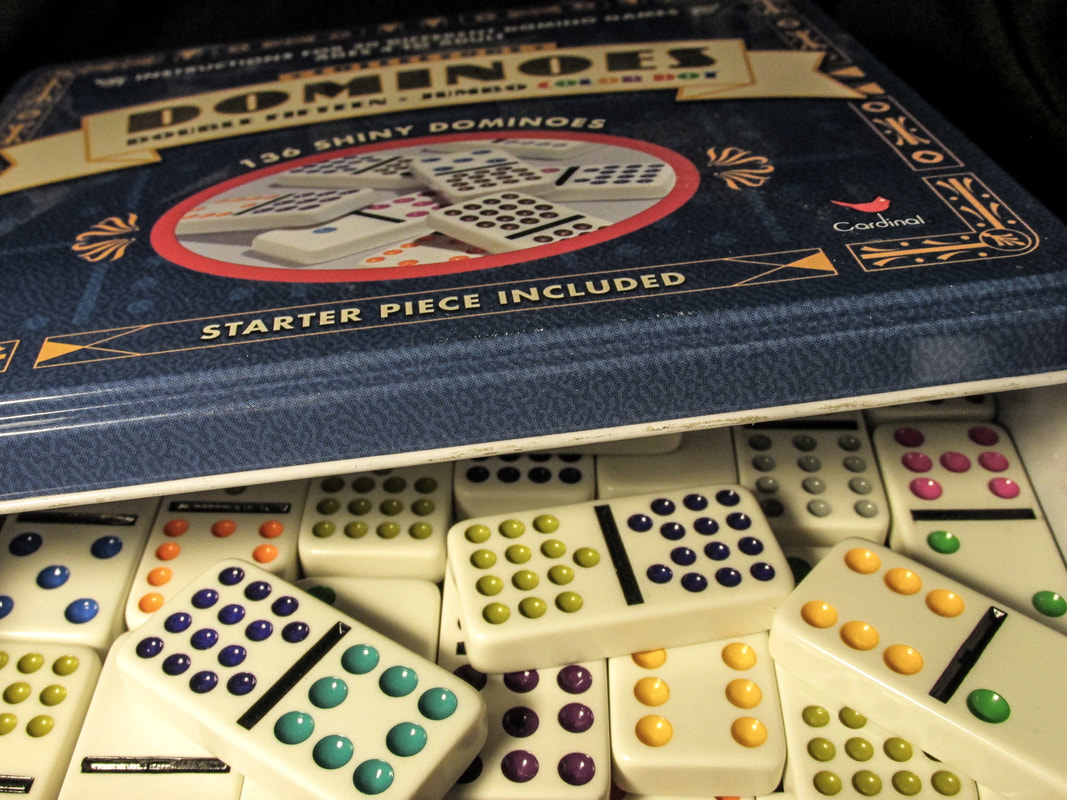
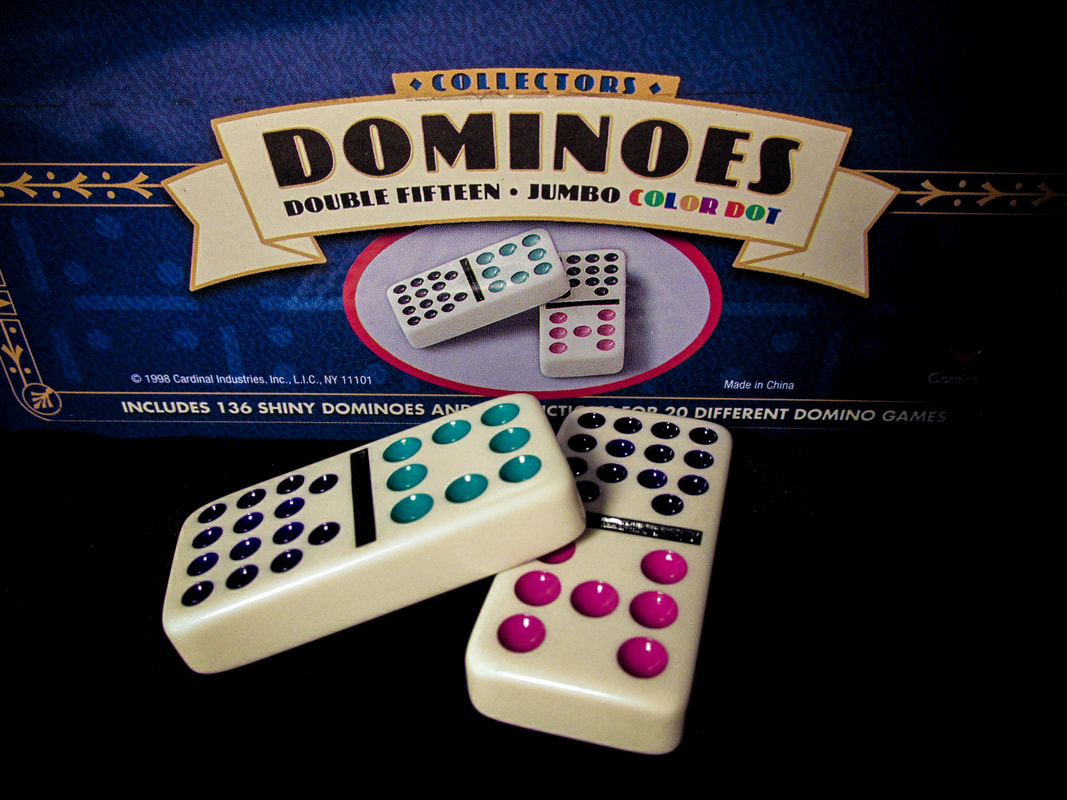
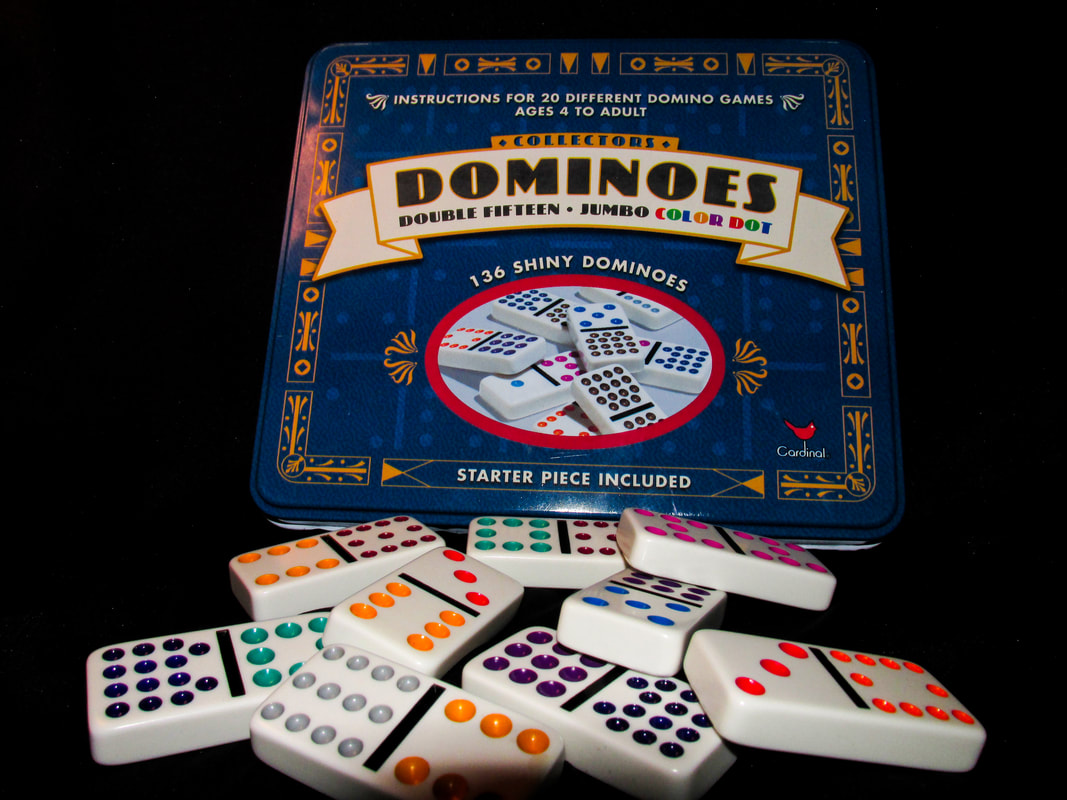
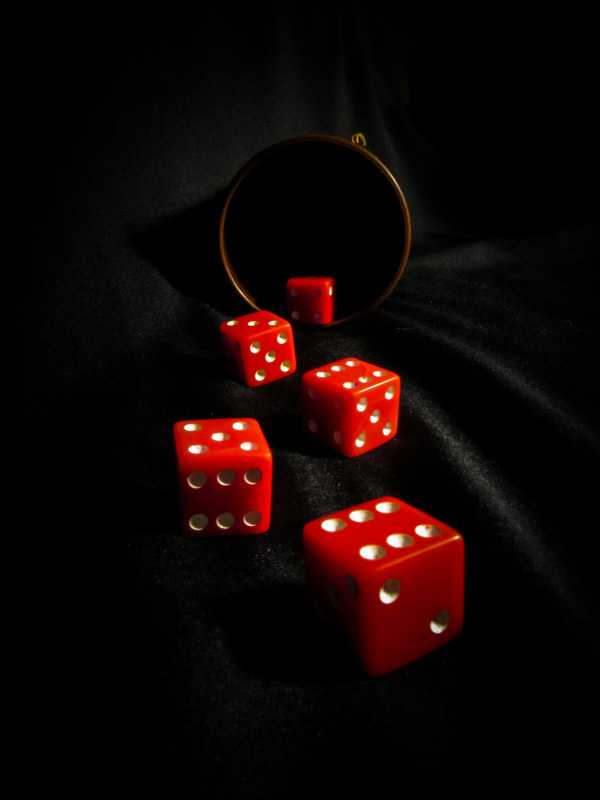
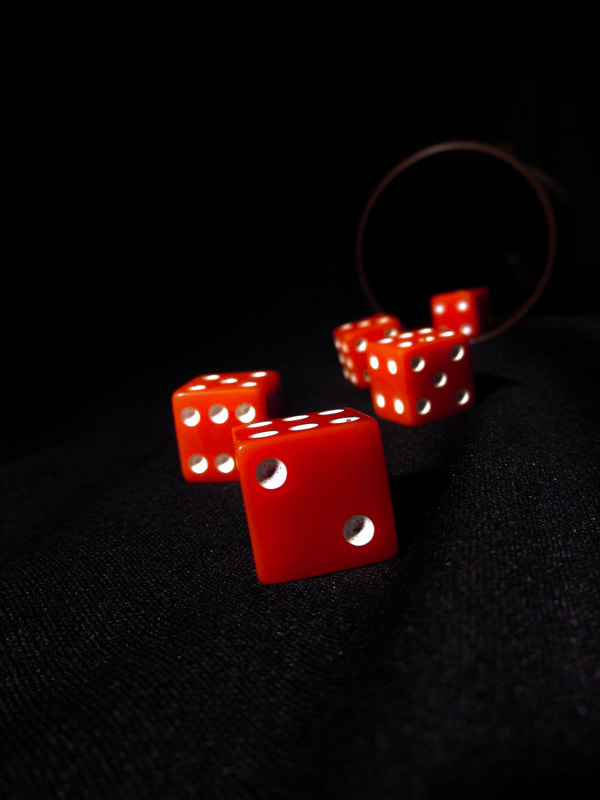
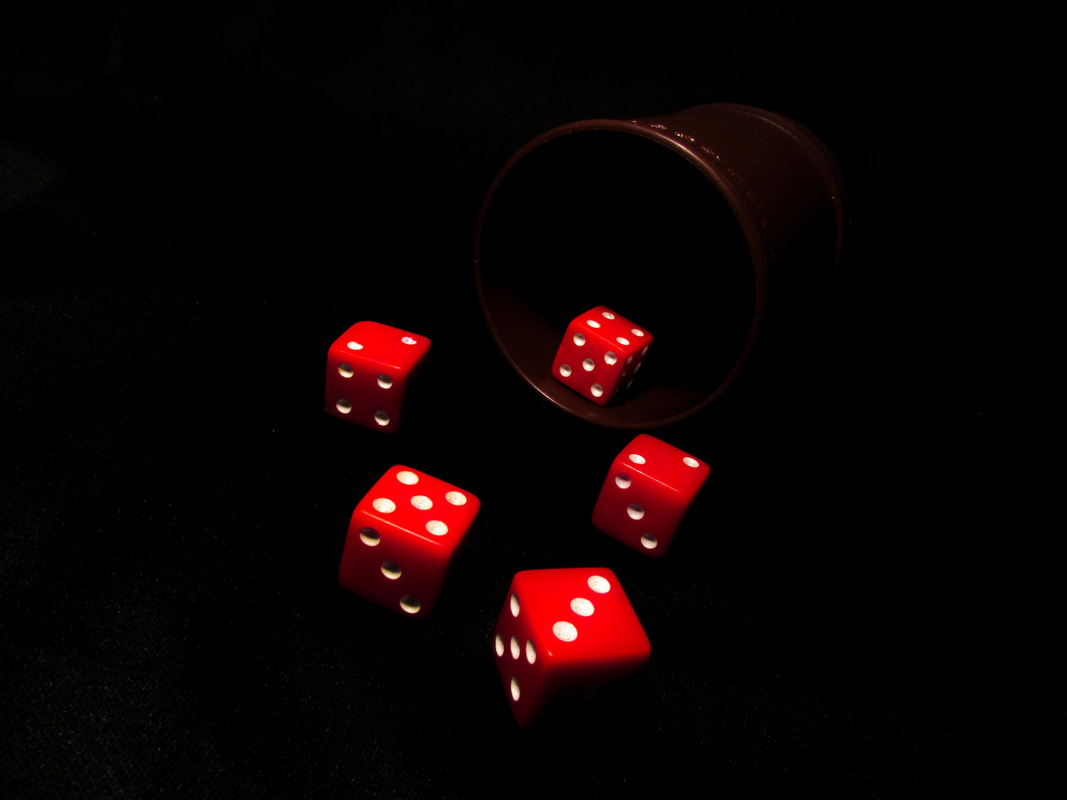
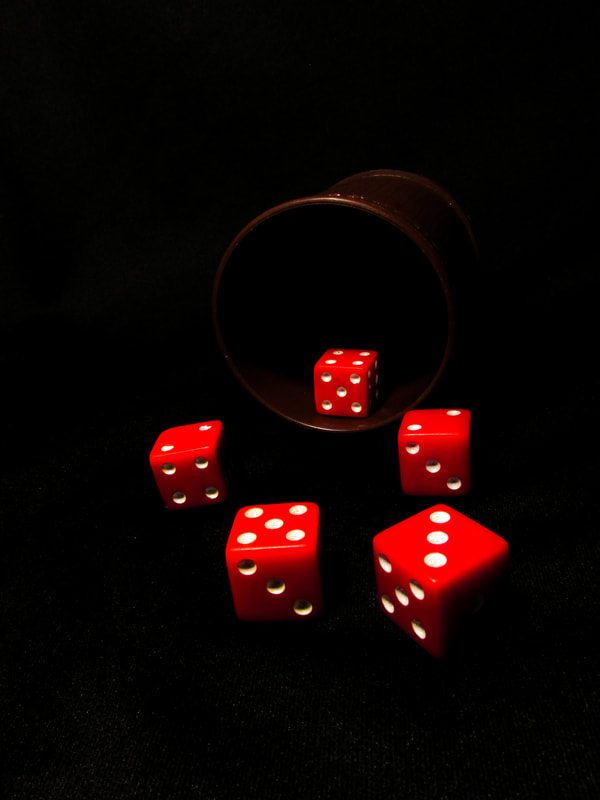
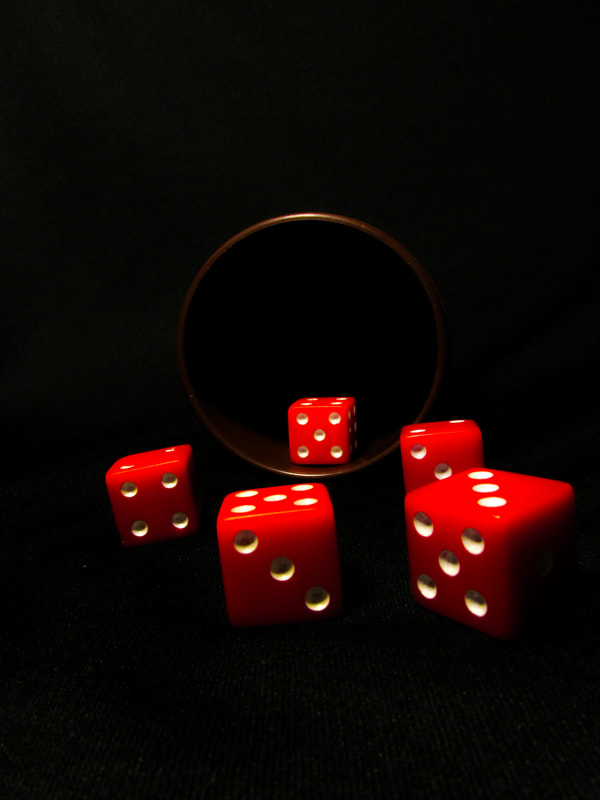
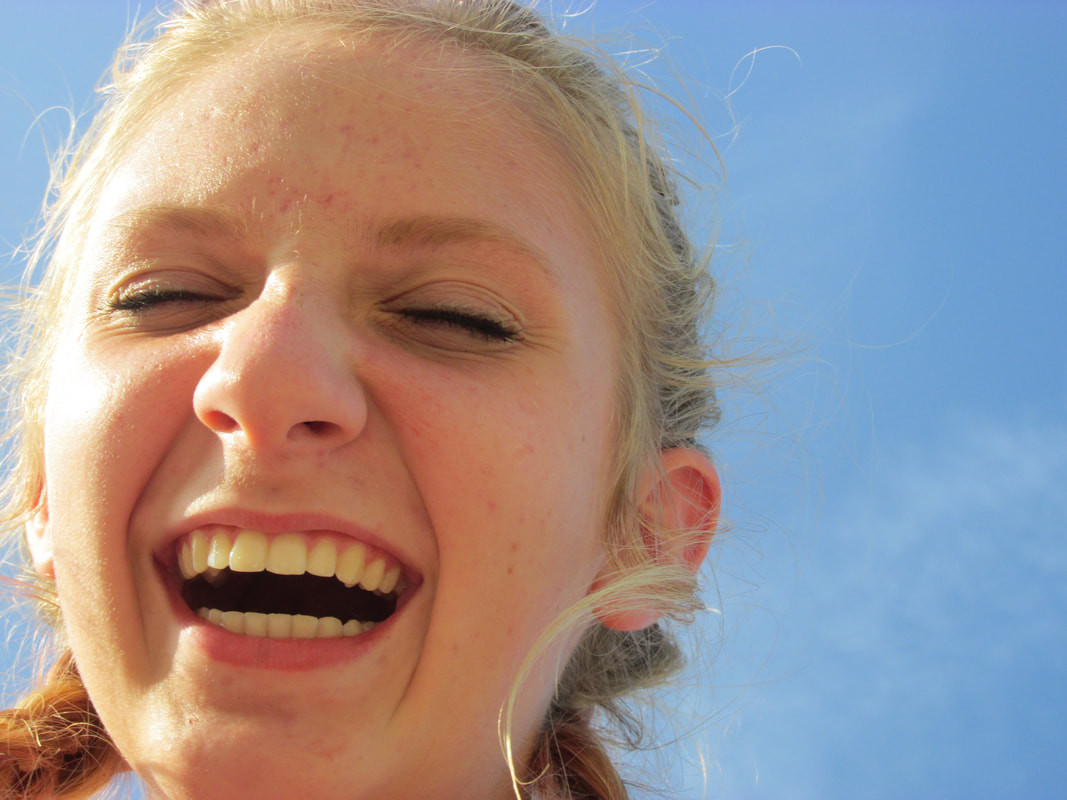
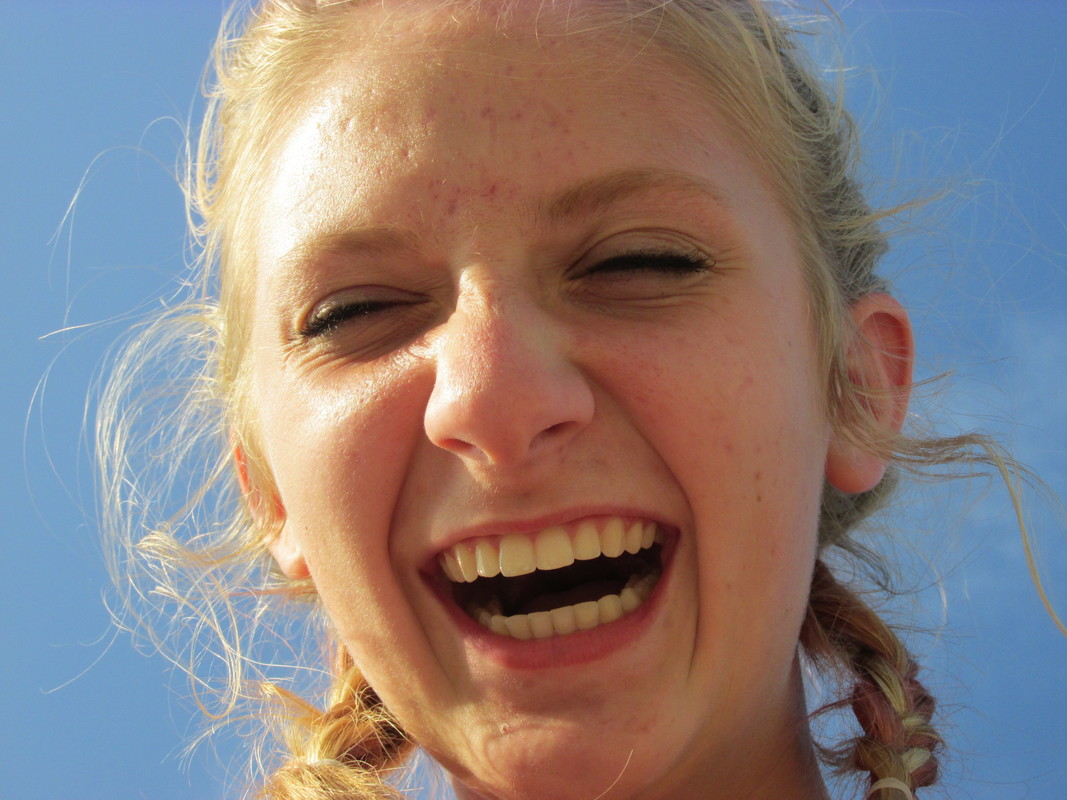
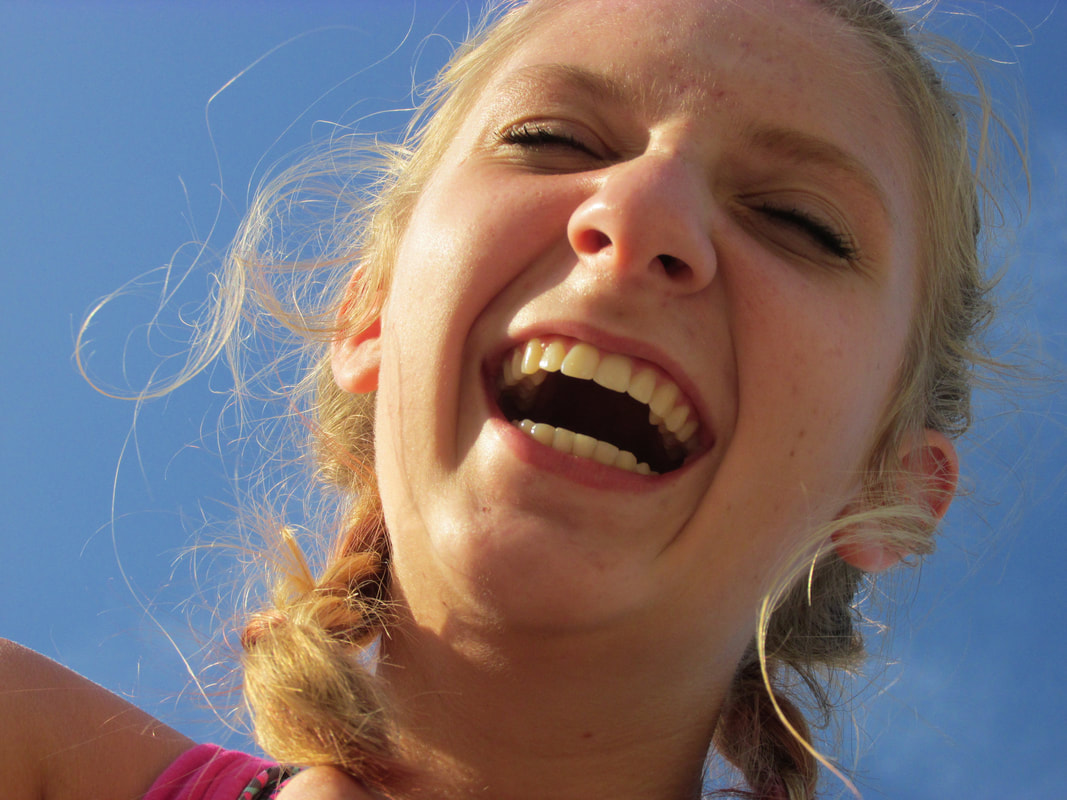
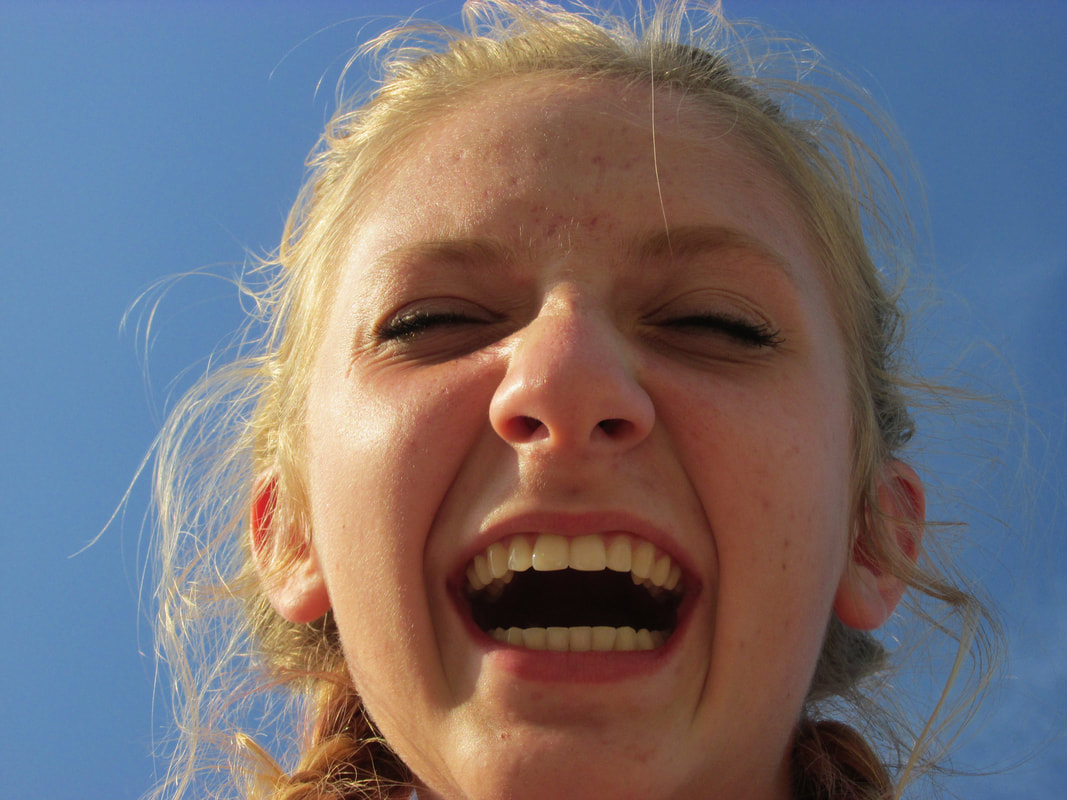
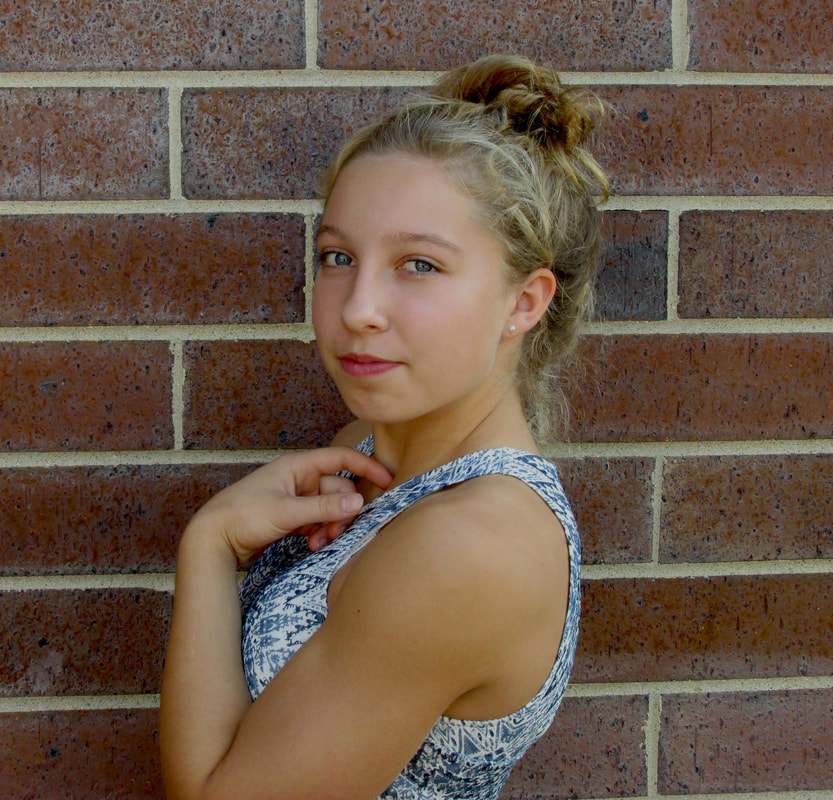
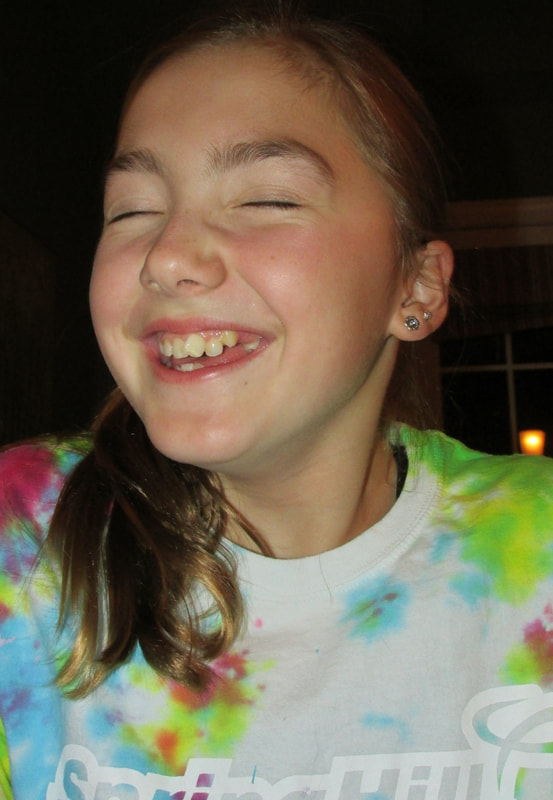
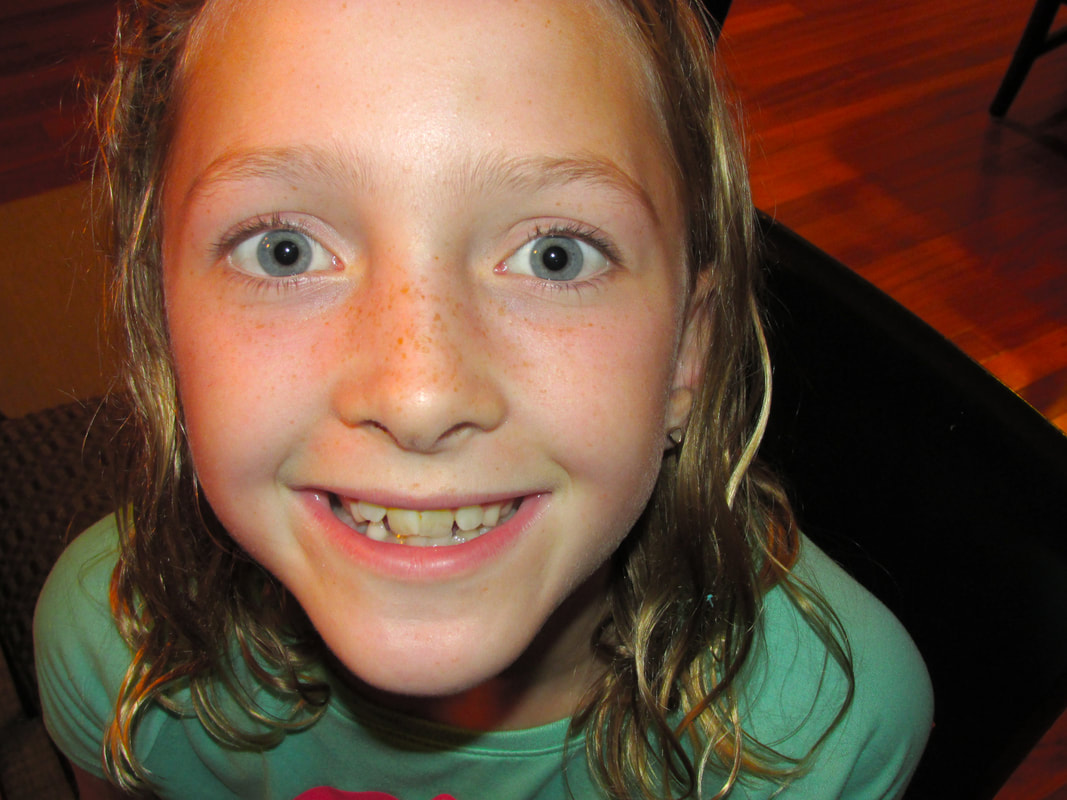
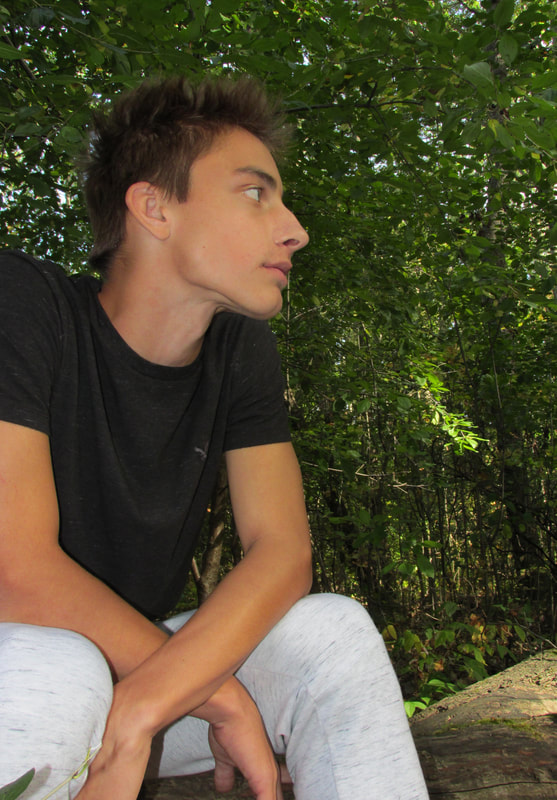
In this assignment, I shot various games with pieces that could easily be manipulated, like dominos, chess, and yahtzee. I used my brother's desk lamp, which took some bribing to get, and I hung my Harry Potter cloak on my dresser for a background. In this shoot, I was frustrated because I continually was working around the glare of the desk lamp, as well as struggling with the shortness of the cord and the limited coverage of the cloak. With this assignment, I used the Manual setting, so I could control all the settings myself. I thought that was really cool, and it really opened my eyes to how much control I have over the pictures I shoot. I was much happier with the photos I completely set than any I'd taken with auto or only some settings controlled. 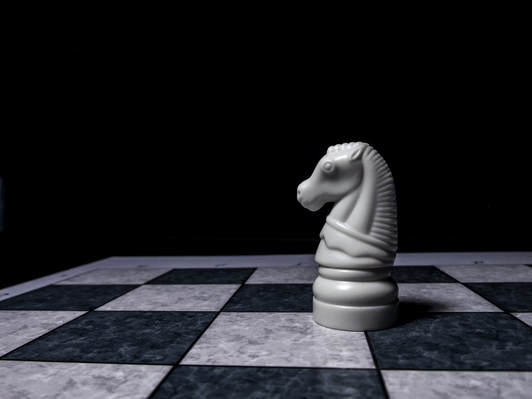 Shutter Speed: 1/30 ISO: 100 Aperture: f/3.5 To edit this photo, I used the Camera Raw filter to bring out the black and the shadows by lowering the saturation of the photo and raising the blacks in it. I also sharpened the photo with clarity and raised the contrast to get the striking effect I desired. For this assignment, I shot pictures of people to try and capture their personality. I mostly just tried to fill the frame with an expression that represented the subject; for kids, I tried for more joyful shots. For subjects, I took pictures of my friends and the girls I babysit. The main challenge was getting the people to cooperate (I have very headstrong friends). I learned the importance of angles more in this assignment. Changing the angle changes the whole picture. I also learned small things to do in photoshop to touch up photos. 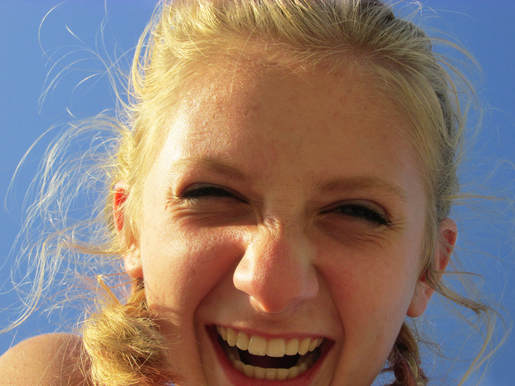 Aperture: f/4.5 Shutter Speed: 1/1000 ISO: 200 For my best picture, I didn't really edit much. I lightened the picture and touched up some blemishes. However, this was one of my less edited photos and is more of a raw photo than the rest are. |